Most dive footage never gets watched. It sits on a memory card or a hard drive as a pile of 20-minute files with names like GX010042.MP4, and every time you think about editing it, the job looks bigger. The fix isn’t fancier software. It’s a simple, repeatable workflow you can run on the boat ride home or the evening after a dive day. This is the workflow we recommend to beginners: it works in free software, on an ordinary laptop, and it turns a dive’s worth of POV footage into a short film your friends will actually finish watching.
Key takeaways
- Back up first, edit second. Get footage onto two separate drives before you delete anything from the card.
- Culling is the most important edit. Mark the best moments before you open a timeline.
- Keep the finished film short. Two to four minutes is plenty for most dive trips.
- Fix white balance before adding saturation or “looks”. Most dive footage just needs the blue cast reduced and the reds gently restored.
- Only use music you have the rights to use, especially if you post publicly.
Choosing editing software
You don’t need expensive software to edit dive video well. Pick one tool and learn it; switching apps every trip is the fastest way to never finish a project.
| Software | Platform | Cost | Best for |
|---|---|---|---|
| GoPro Quik | iOS, Android | Free app with optional subscription features | Quick edits on your phone right after the dive |
| iMovie | macOS, iOS | Free | Absolute beginners on Apple devices |
| DaVinci Resolve | Windows, macOS, Linux | Free version; paid Studio version | Best free color correction; worth learning if you plan to keep editing |
| Final Cut Pro | macOS | Paid | Fast, polished editing on Mac |
| Adobe Premiere Pro | Windows, macOS | Subscription | Editors already using Adobe tools |
If you only want one recommendation: DaVinci Resolve’s free version has excellent color tools, which matter more for underwater footage than for almost any other kind of video. The steps below apply to any of these programs; only the button names change.
Step 1: Offload and back up
Do this every dive day, before anything else. Memory cards fail, get lost and get accidentally formatted on a rocking boat.
Copy the whole card
Copy the entire DCIM folder to your laptop or an external SSD. Use a card reader rather than the camera’s USB cable when you can; it’s usually faster and doesn’t drain the camera battery.
Make a second copy
Copy the same files to a second drive or cloud storage. A common rule of thumb is 3-2-1: three copies, on two different types of storage, with one kept somewhere else.
Organize by date and site
Use a simple folder structure like 2026-10-04_Bonaire_1000Steps. Future you will thank you.
Only then format the card
Format the card in the camera, not on the computer, once both backups are confirmed.
Good to know: GoPro cameras split long recordings into multiple “chapter” files and also create small low-resolution .LRV files alongside the main .MP4 files. Keep all chapters together; most editors play them back to back seamlessly. Some editors can use the .LRV files as lightweight proxies, which helps on older laptops.
Step 2: Cull ruthlessly
A regulator-mounted camera records your entire dive from your point of view, which is exactly what you want in the water and exactly why culling matters afterward. A 50-minute dive might contain 30 seconds of truly great footage and several minutes of good footage. Your job is to find them.
- Watch at 2x speed and mark highlights. Most editors let you mark in and out points or add favorites/markers.
- Look for moments, not just subjects. A turtle that turns toward you beats a turtle that swims away.
- Collect transitional shots. The giant stride, the descent line, sun rays on the safety stop, the boat ladder. These glue a story together.
- Skip the shaky and the murky. Editing can fix color; it can’t fix a silted-out scene or a frantic head turn.
- Rename or tag your selects (for example “turtle_close”, “eel_ledge”) so you can find them quickly later.
Pro tip: Better footage makes editing faster. Slow head movements, holding a shot for five to ten seconds and getting closer to your subject all reduce culling time. Our POV composition tips explain how to shoot with the edit in mind.
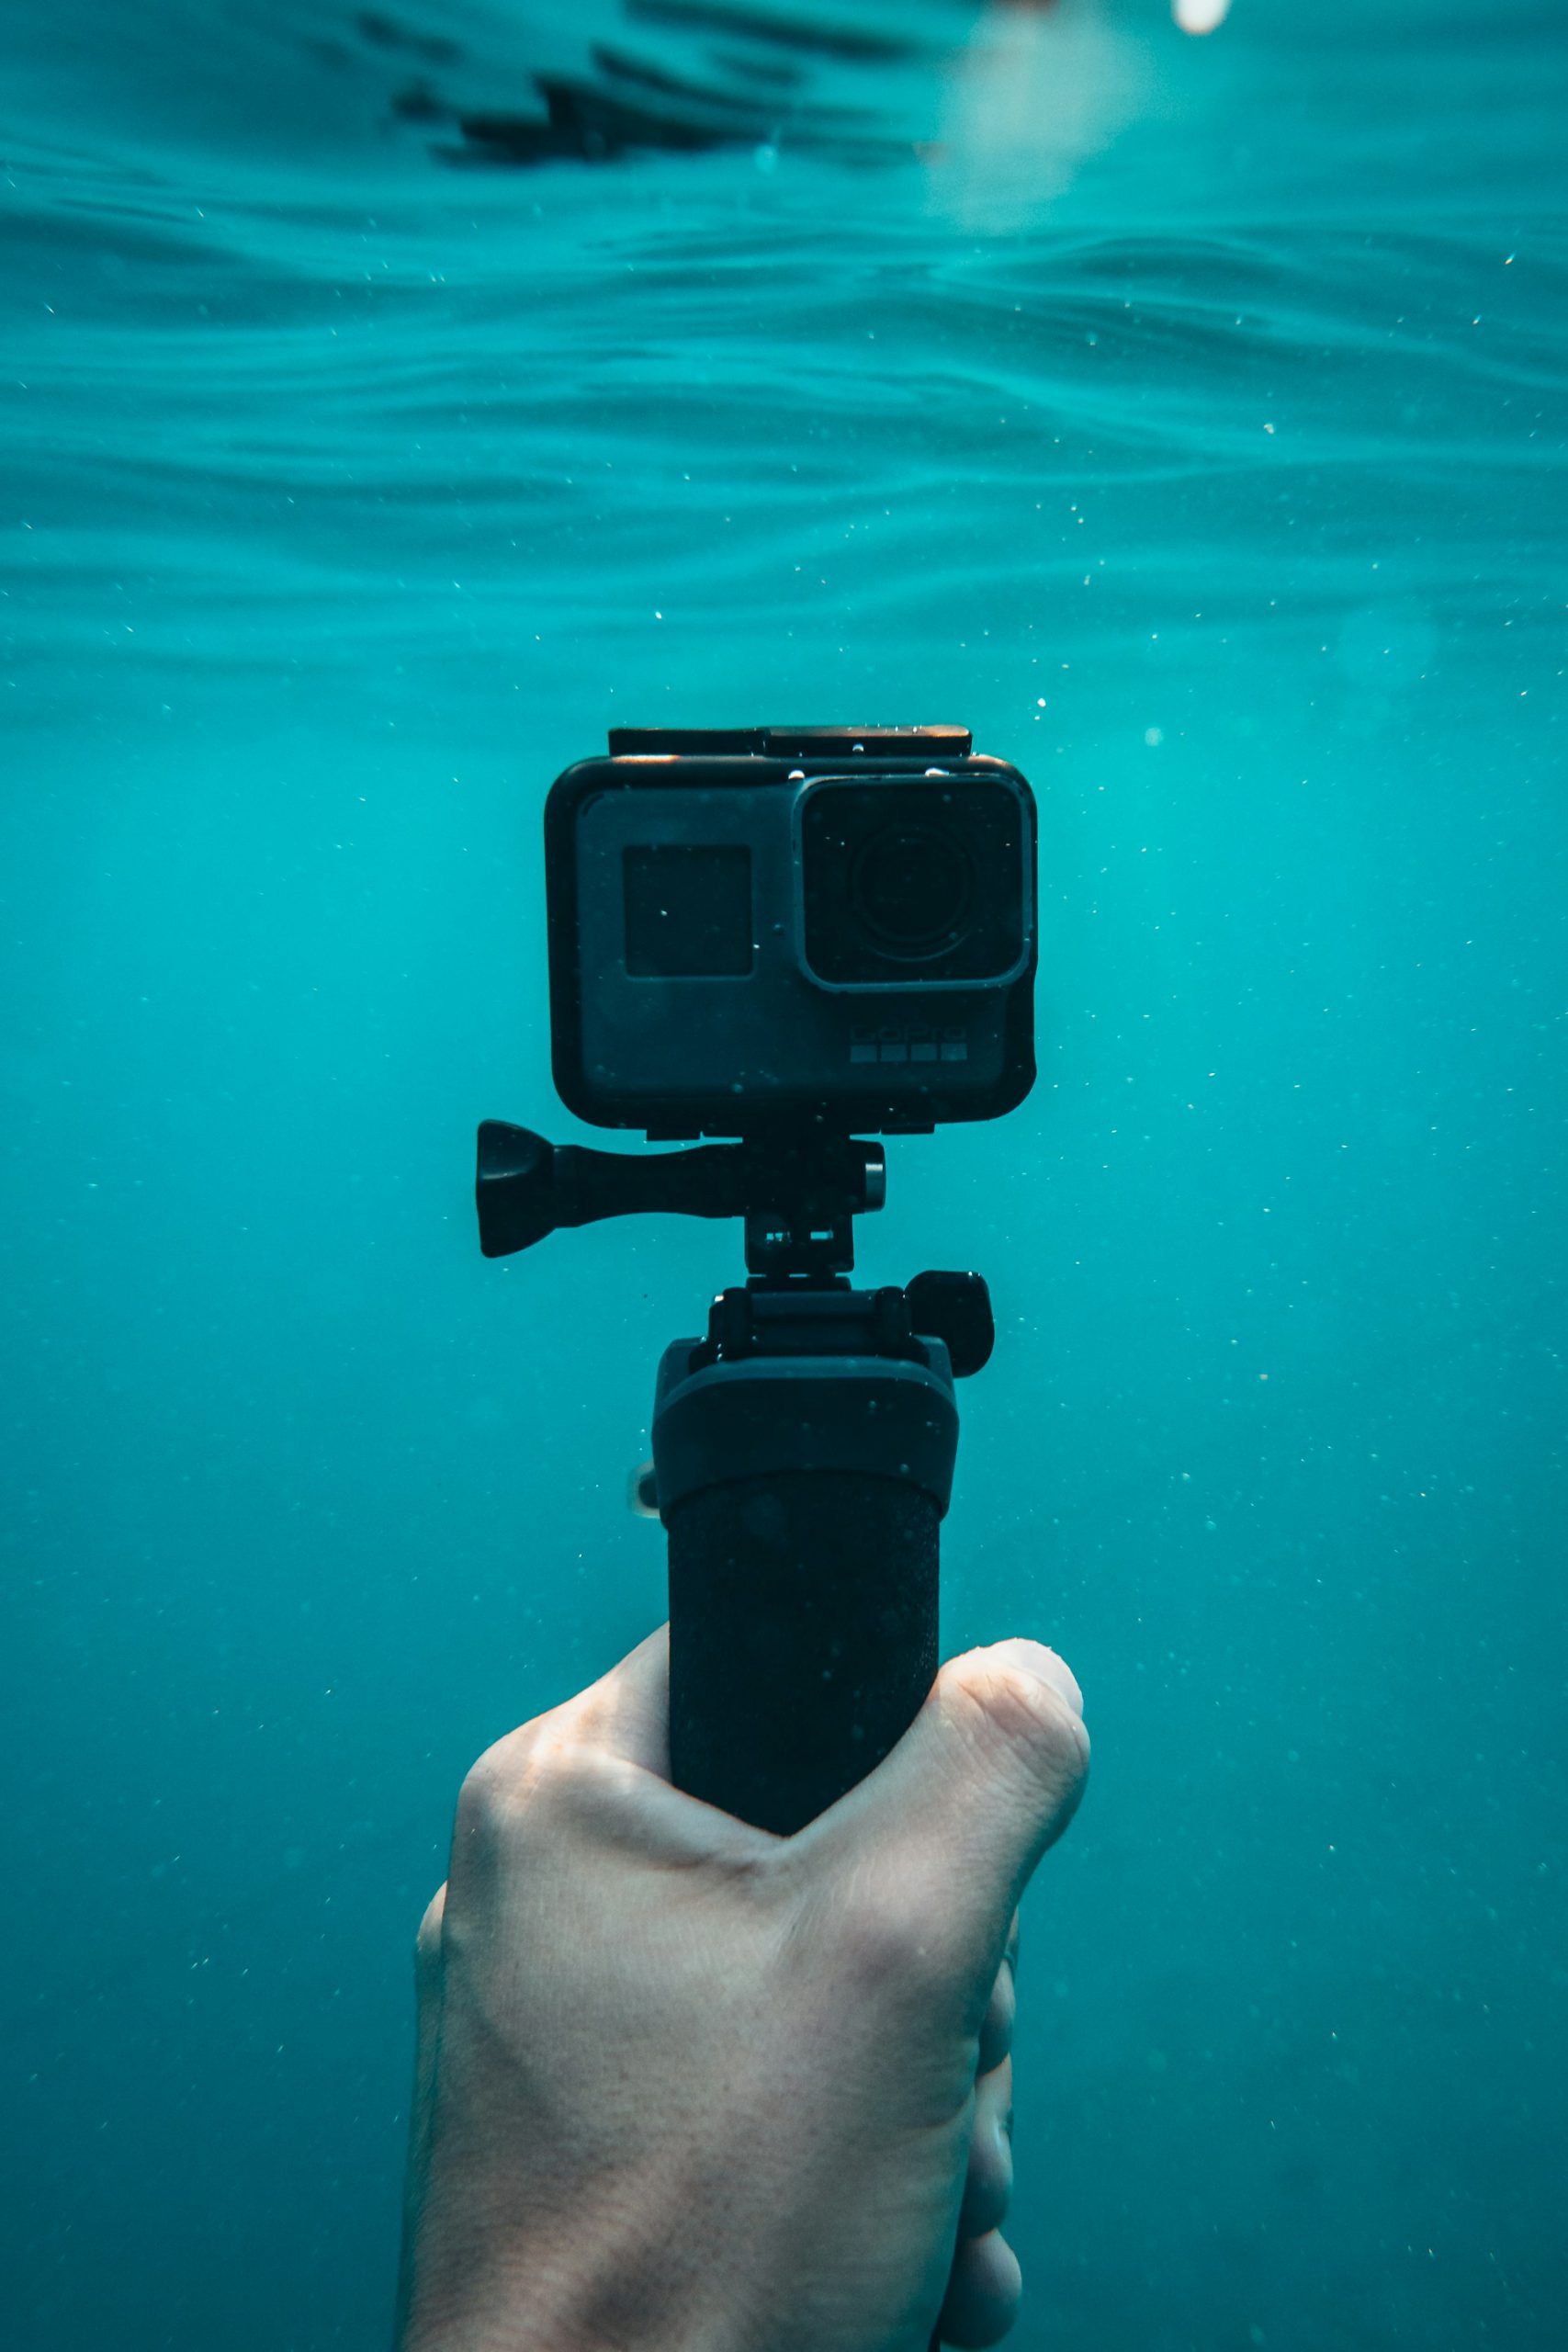
Step 3: Build a rough cut
Drop your selects onto the timeline in roughly chronological order. Don’t worry about color or music yet. A simple structure works for most dive films:
- Open (10–20 seconds): boat, entry, descent. Sets the scene.
- Middle (1–3 minutes): your best encounters, strongest first or building toward the best one.
- Close (10–20 seconds): safety stop, sun rays, ascent, maybe a quick topside shot.
Clip length and pacing
Most underwater clips work best between about 3 and 8 seconds. Hold longer on a genuinely great moment, a manta pass or a turtle approaching the lens, and shorter on transitional shots. If you find yourself thinking “this part is slow,” cut it. Viewers who weren’t on the dive have less patience than you do.
Cuts and transitions
Use straight cuts for almost everything. A short cross-dissolve can soften a jump between two similar-looking scenes, but avoid spinning, sliding and zooming transitions. They date a video instantly and distract from the footage.
Step 4: Correct the color
This is where dive video goes from “blue and flat” to “that’s what it looked like.” Water absorbs red light first, so footage shot without lights or filters usually comes back blue or green. Correct in this order:
Set white balance
Use your editor’s white balance eyedropper on something that should be neutral: white sand, a white or gray part of a dive tank, or a buddy’s white fin strap. If nothing neutral is in frame, adjust temperature and tint manually until the water looks believable.
Fix exposure and contrast
Raise shadows slightly and pull back highlights to protect bright water near the surface. Add a touch of contrast; underwater footage is often low-contrast because of particles in the water.
Gently restore reds and warmth
Nudge the reds and oranges back, but stop before skin, sand and coral look orange. Overcorrected footage looks worse than slightly blue footage.
Add saturation last, and lightly
A small boost in saturation or vibrance is usually enough. Check skin tones and white objects as you go.
Copy the grade to similar clips
Clips from the same depth and lighting can share one correction. Most editors let you copy and paste attributes or apply the grade to a group.
Color correction works much better when the camera captured good data in the first place. See our guide to red and magenta filters, white balance and color correction for what to do in the water, and the best GoPro settings for scuba diving for exposure settings that leave room to grade.
Watch out: Avoid one-click “underwater” filters that push everything magenta. They might look punchy on a phone screen, but they turn white sand pink and make clips from different depths look inconsistent.
Step 5: Stabilize, sharpen and crop sparingly
- Stabilization: Modern action cameras have strong in-camera stabilization, and a regulator-mounted camera moves with your head rather than your hands, which already removes a lot of shake. Use software stabilization only on clips that need it; it crops the image and can create a “warping” look on busy reef scenes.
- Cropping: If you shot in 4K and are exporting at 1080p, you can crop in a little to improve framing without visible quality loss.
- Sharpening and noise reduction: Go light. Heavy sharpening exaggerates particles in the water and noise in dark scenes.
Step 6: Sound and music
Raw dive audio is mostly regulator breathing and bubbles. Some editors like a few seconds of it during the descent for immersion, but most films use music for the body of the edit.
- Use licensed music. Commercial songs you bought or stream are usually not licensed for use in your videos. Use royalty-free libraries, music licensed for creators, or the audio libraries built into platforms like YouTube. The U.S. Copyright Office has plain-language information about copyright basics.
- Cut to the music. Place your strongest cuts on beats or phrase changes. It makes even simple edits feel intentional.
- Fade in and out. One or two seconds of fade at the start and end avoids abrupt audio.
- Balance levels. If you keep any natural audio, lower it under the music so breathing sounds don’t spike.
Step 7: Titles, then export
Add a simple title (site name, location and date) and, if you like, short captions identifying species. Keep fonts clean and readable on a phone screen.
| Destination | Format | Resolution | Notes |
|---|---|---|---|
| YouTube | MP4 (H.264 or H.265) | 4K or 1080p | Uploading in 4K often looks better after the platform recompresses it |
| Instagram / TikTok vertical | MP4 (H.264) | 1080 × 1920 | Reframe for vertical; keep key action in the center |
| Sharing with family | MP4 (H.264) | 1080p | Plays on almost every device |
| Archive master | High-quality MP4 or your editor’s master format | Native resolution | Keep this alongside your raw footage |
Match the export frame rate to your footage (for example, 30 fps footage exports at 30 fps). Always watch the exported file all the way through before you post it. Export glitches happen.
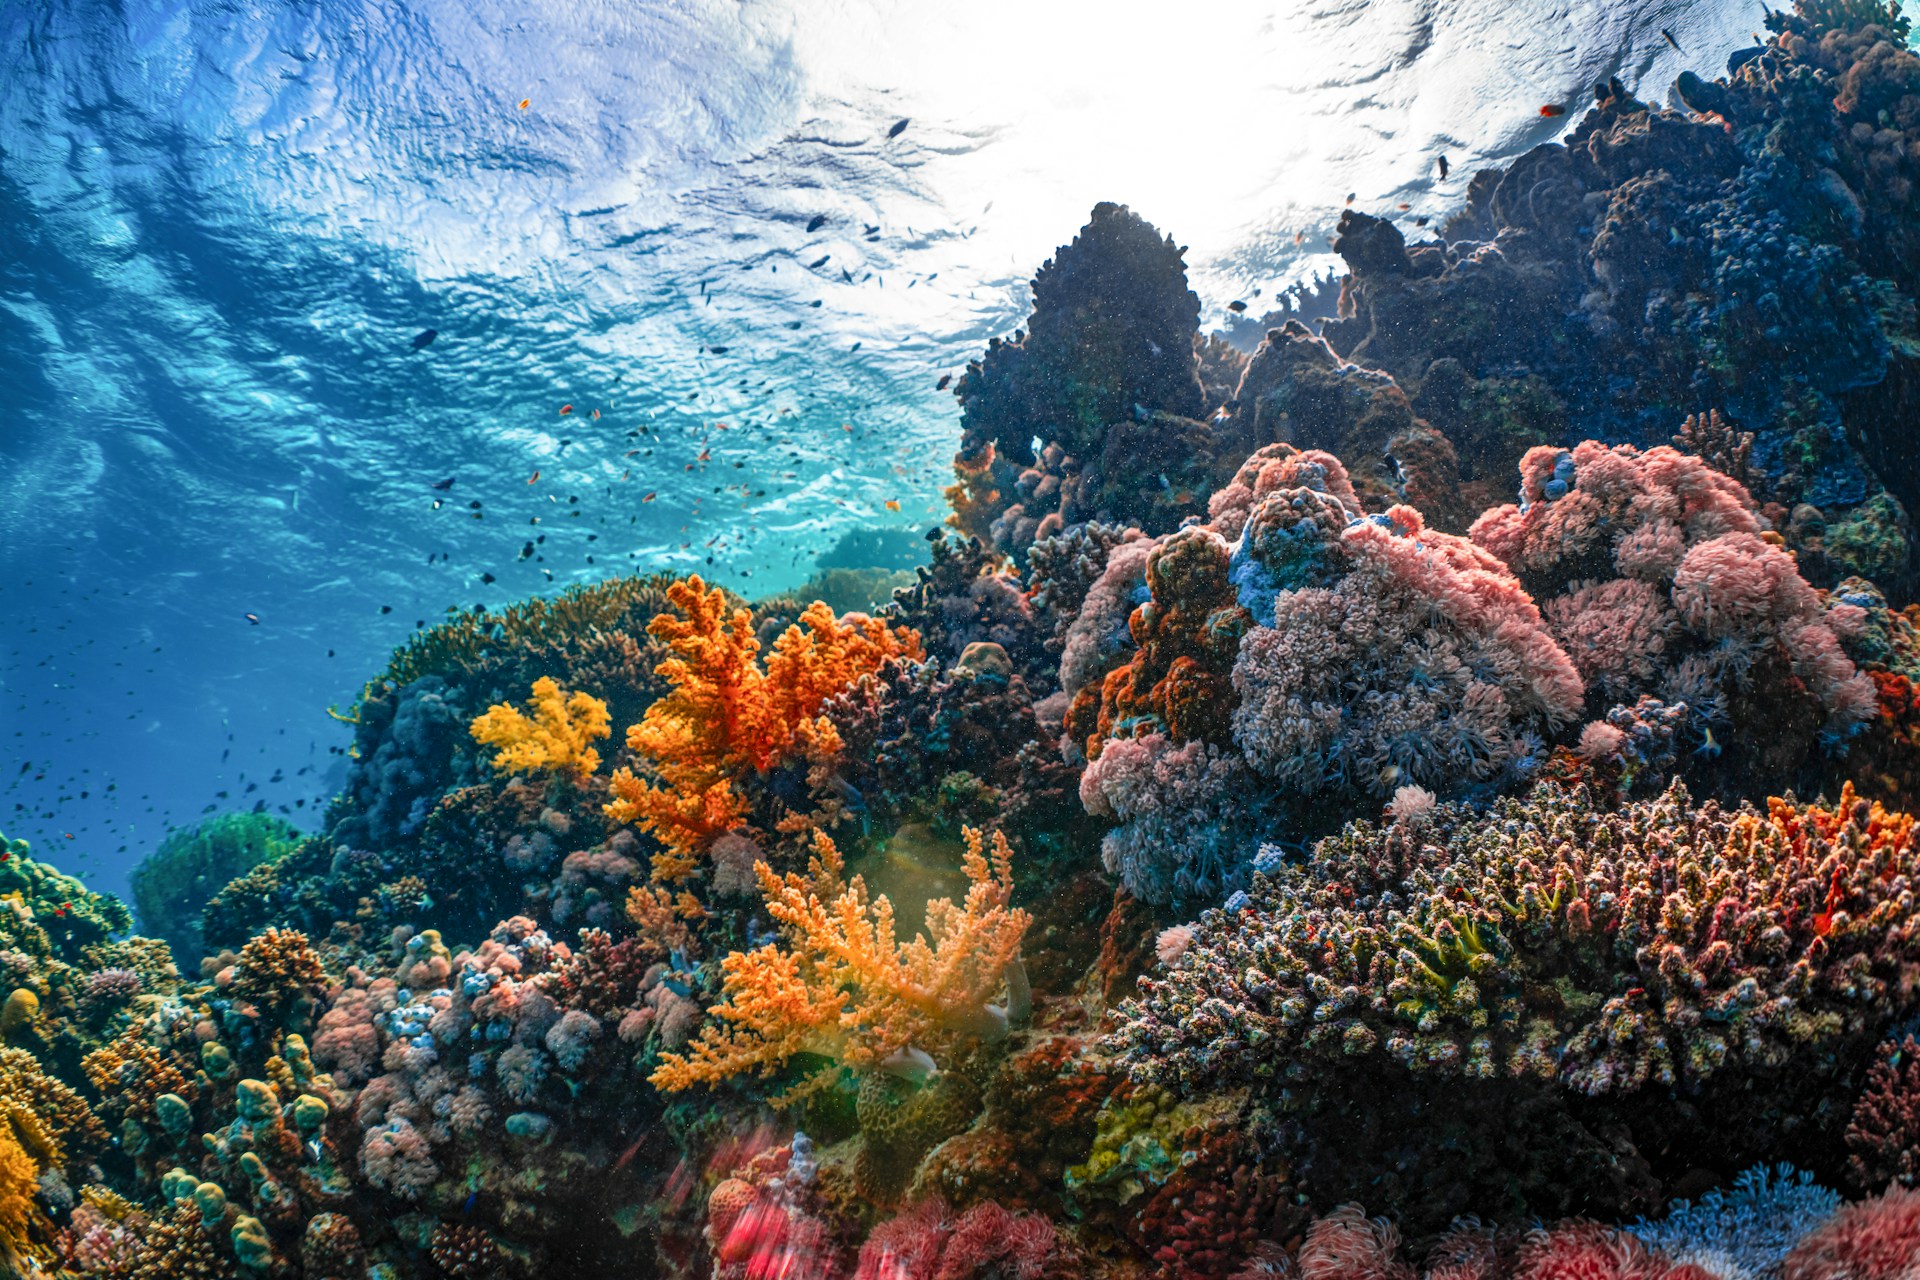
Common beginner mistakes
- Deleting the card before a second backup exists.
- Making the film too long. If a clip doesn’t earn its place, cut it.
- Overcorrecting color until everything glows orange or magenta.
- Using copyrighted songs without permission, which can get videos muted or removed.
- Using flashy transitions on every cut.
- Editing every single dive. Pick the best dive or best day and finish that project first.
Better footage in, faster edits out
RegMount keeps your camera on your regulator in front of the exhaust: no bubbles in the lens, a true point-of-view angle and no wondering whether the camera is recording. That means more usable clips and less time culling.
Frequently asked questions
What is the best free software for editing dive videos?
DaVinci Resolve’s free version is the strongest free option for underwater footage because its color correction tools are excellent. iMovie and GoPro Quik are simpler if you want quick results with less learning.
Why is my dive footage so blue or green?
Water absorbs red light first, so deeper footage loses warm colors. Correct white balance in your editor using something neutral in the frame, then gently restore reds. Filters or lights while shooting give the editor more to work with.
How long should a dive video be?
For sharing with friends or on social media, two to four minutes for a whole trip is a good target. Short-form vertical clips work best under a minute.
My laptop struggles with GoPro footage. What can I do?
Use proxy or optimized media if your editor supports it, try the camera’s low-resolution .LRV files as proxies where possible, close other applications and edit from a fast SSD rather than a slow external hard drive.
Can I use popular songs in my dive video?
Usually not without a license. Use royalty-free music, creator-licensed music services or platform audio libraries, and check the license terms for your intended use.