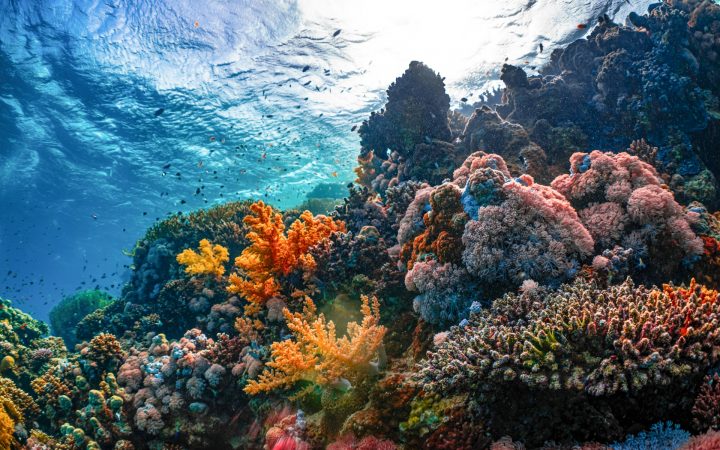
Every underwater videographer eventually hits the same wall: the reef that looked bright orange and purple to your eyes comes back blue-green on the screen. Filters and color correction help in shallow water, but below a certain depth, inside a wreck, under a ledge or on a night dive, there is simply no red light left to record. That is where lighting comes in. This guide explains what actually matters when choosing and using lights for action-camera video, cuts through the marketing numbers and shows you how to position lights so they add color instead of a snowstorm of backscatter.
Key takeaways
- Dive lights and video lights are built for different jobs. A narrow dive-light beam makes a hot spot in wide action-camera footage; video lights use wide, even beams.
- Lights only restore color over a short distance, typically a few feet. Get close to your subject.
- Beam angle and CRI (color rendering) matter as much as lumens. Look for a wide beam (around 100° or more) and a high CRI.
- Place lights out to the sides and slightly behind the camera to reduce backscatter.
- Remove red or magenta filters when shooting under artificial light.
Why underwater video needs light
Water absorbs light selectively. Red disappears first, then orange and yellow, leaving blues and greens. The loss happens over the total distance light travels: from the surface down to the subject, then from the subject to your lens. That’s why a red sponge only a few feet away looks dull even at moderate depth, and why horizontal distance matters as much as depth.
Artificial light shortens that path to just the distance between your light, the subject and your camera. Close up, a good video light restores the full spectrum. Farther away, the water absorbs the light’s reds too, and its effect fades quickly. Light intensity also drops off sharply with distance (the inverse square law), so doubling the distance to your subject leaves roughly a quarter of the light falling on it, before any absorption.
Good to know: Lights and filters solve different problems. Filters shift color in ambient light and work best in shallow, sunny, blue water. Lights add full-spectrum color at close range and work at any depth or at night. For filters, see our color correction and filters guide.
Dive lights vs video lights vs strobes
| Feature | Dive (primary/backup) light | Video light | Photo strobe |
|---|---|---|---|
| Purpose | Navigation, signaling, looking into holes | Continuous, even illumination for video | A brief flash for still photos |
| Beam | Narrow spot, often around 6–15° | Wide flood, often around 90–120° or more | Wide flash |
| Color quality | Often not specified; may be cool/blue | Usually daylight-balanced; better models list high CRI | Daylight-balanced |
| Works for video? | Poorly: hot spot in the middle of the frame | Yes, designed for it | No; it doesn’t stay on |
A dive light pointed at a subject can still create dramatic accent lighting, and a buddy’s light beam sweeping across a wreck can look fantastic on video. But for evenly lit footage with an action camera’s wide lens, you want a light designed for video. Never repurpose your primary dive light as a video light on dives where you need it for navigation and communication.
Understanding the numbers
Lumens: how much light
Lumens measure total light output. Higher numbers help, but the useful amount depends on distance, visibility and ambient light. Treat these as rough starting points for action-camera video, not hard rules:
| Use | Typical output per light | Notes |
|---|---|---|
| Macro and close-ups (under 1–2 ft) | About 1,000–2,500 lumens | Often run at reduced power to avoid overexposure |
| Fill light on daytime reef shots | About 2,500–6,000 lumens | Needs to compete with sunlight; works only close up |
| Night dives, wreck interiors, caverns | About 1,500–4,000 lumens | Ambient light is absent, so less output is needed |
| Wide scenes with subjects several feet away | Pairs of high-output lights | Even powerful lights struggle beyond a few feet |
Manufacturer lumen ratings are not always measured the same way and often reflect maximum output at the start of a charge. Compare lights within the same brand, read independent reviews and look at the burn time at the power level you’ll actually use.
Beam angle: how wide
Action cameras have very wide fields of view. A narrow beam lights a circle in the center and leaves the edges dark. For video, look for lights rated around 100° or wider, or ones with removable diffusers. A wide beam also looks more natural and reduces the “flashlight in the dark” effect.
CRI: how accurate
The Color Rendering Index (CRI) describes how faithfully a light reproduces colors compared with a reference source, on a scale up to 100. Low-CRI lights can make reds and skin tones look muddy even when they’re bright. For video, a CRI of 80 is a reasonable minimum, and 90 or higher is noticeably better.
Color temperature: how warm or cool
Most video lights are daylight-balanced at roughly 5,000–6,500 K. Match your camera’s white balance to your lights when they are the main light source (see our GoPro settings guide), or leave it on auto in mixed light and fine-tune in editing.
Burn time and power modes
Check how long a light runs at the power level you’ll use, not just at the lowest setting. Many lights step down output as the battery drains or as they heat up. If you travel, also check the battery’s watt-hour rating; our guide to traveling with dive camera gear covers airline rules for lithium batteries.
Placing your lights to avoid backscatter
Backscatter is the bright, out-of-focus specks you see when light reflects off particles floating between the lens and the subject. Lights mounted right next to the lens and pointed straight ahead produce the most backscatter, because they light up every particle the camera sees.
Get close first
Less water between lens and subject means fewer particles to light up. Closing distance is the single biggest improvement you can make.
Move lights out to the sides
With a two-light setup, spread the lights out to the left and right of the camera.
Pull them back slightly
Position lights a little behind the front of the lens so the brightest part of the beam doesn’t fall on the water directly in front of it.
Angle them outward
Point lights slightly outward rather than at the subject’s center, so the subject is lit by the edges of the beams, which are softer and light fewer particles near the lens.
Adjust power to the scene
Too much light overexposes close subjects and flattens texture. Turn down for macro, up for wider scenes.
Pro tip: In clear water, a single light can look great held off to one side, creating natural shadows and depth. In murky water, side lighting is even more important, because on-axis light turns suspended particles into a blizzard.
Mounting options for lights
- Tray and arms: Best control over light placement for backscatter; bulkier and needs at least one hand.
- Handheld light: Flexible, but takes a hand away from buoyancy, line work or your buddy.
- Buddy-held light: Your buddy lights the scene from the side. Great results with teamwork and clear signals.
- Regulator-mounted compact light: A small light on your second stage, with a GoPro-style mount, puts the beam exactly where you’re looking with no hands. Because it sits near the lens, it works best for close subjects, clear water and fill light rather than wide murky scenes. Our creative ways to use RegMount covers this setup in detail.
Careful: Many dive and video lights get hot quickly out of water and rely on the water for cooling. Turn them on just before you descend and off right after you surface, and never leave them running on a boat deck.
Lighting night dives
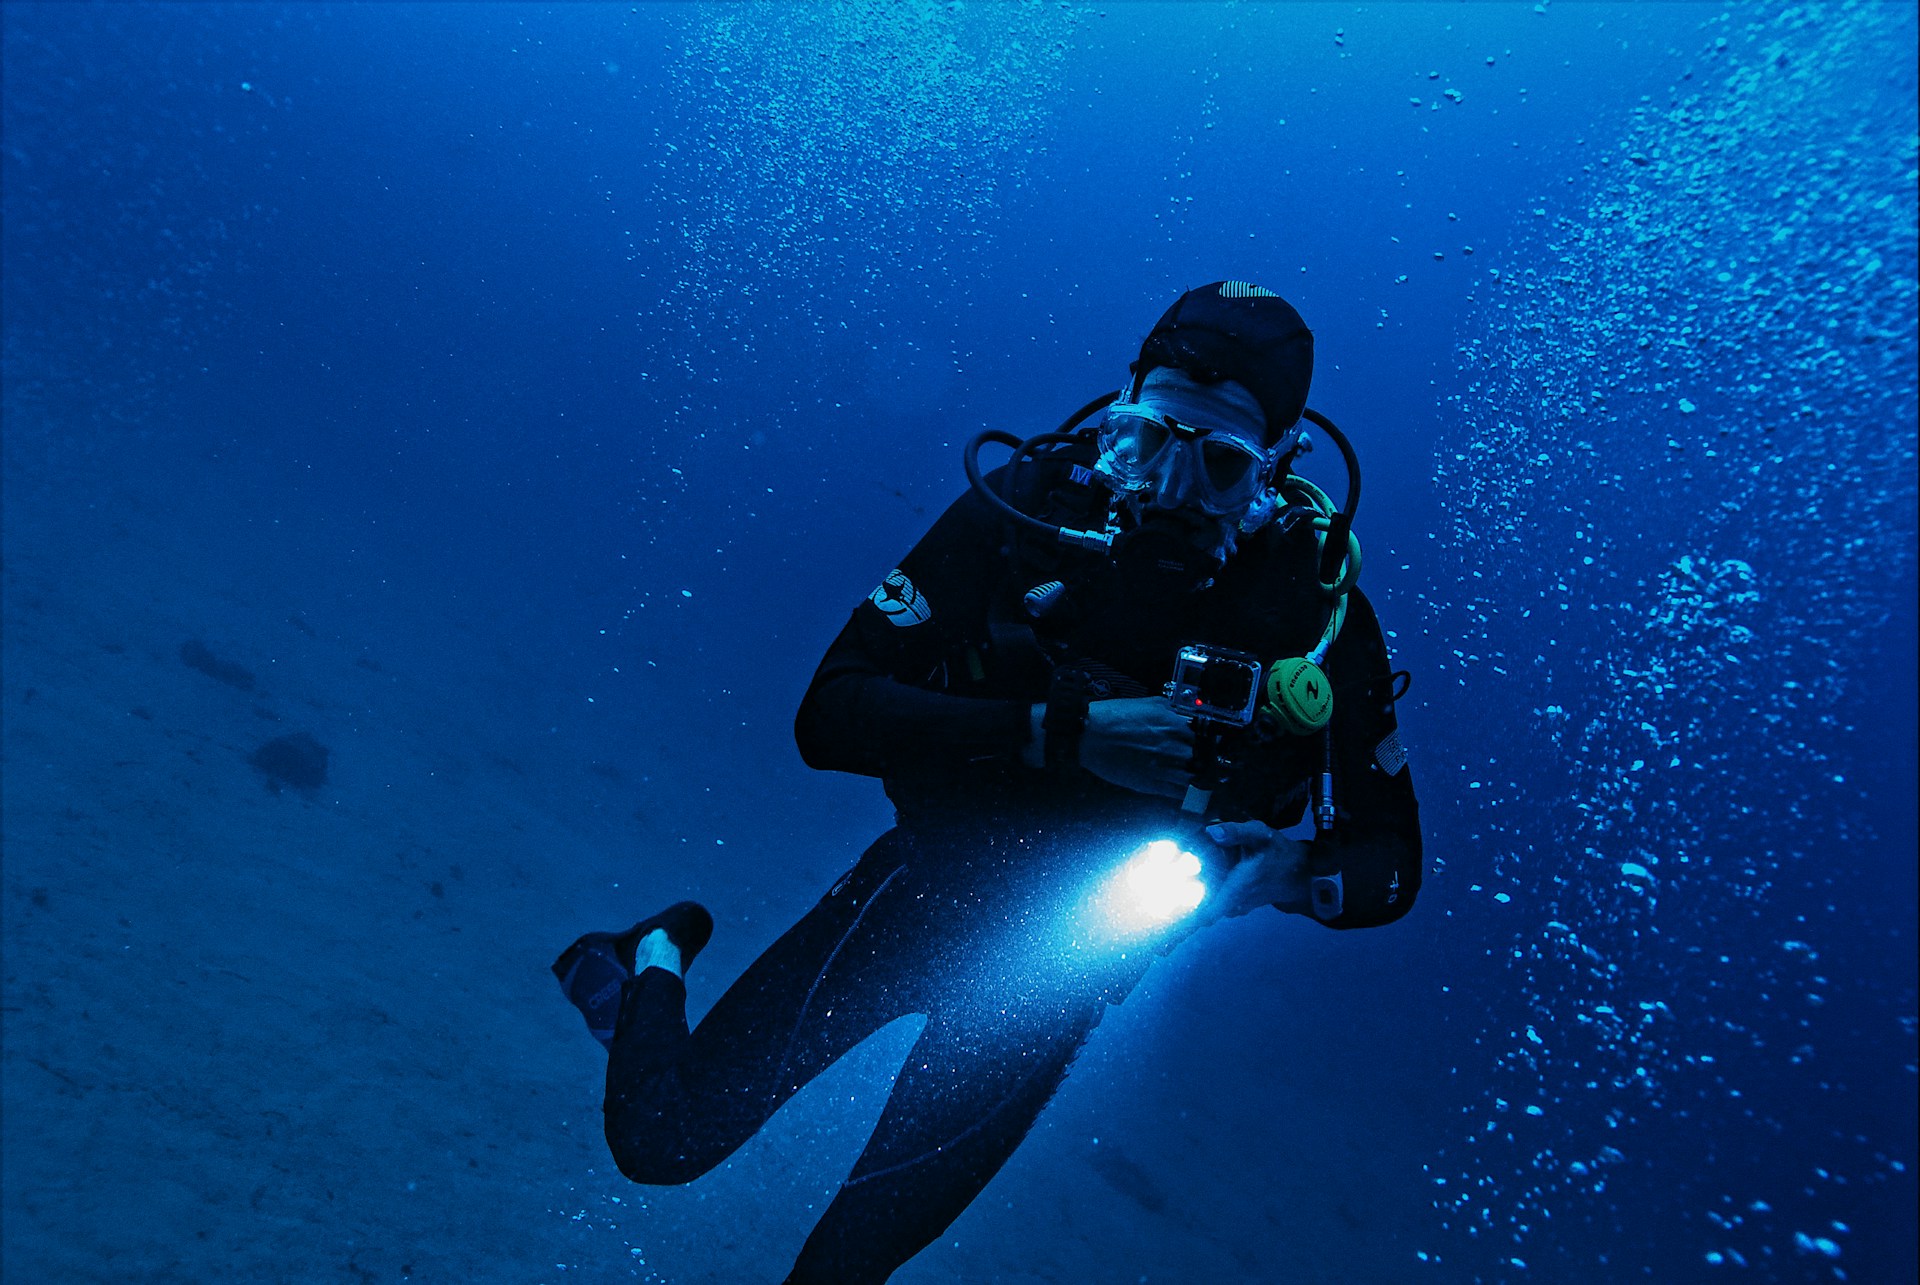
Night dives are where video lights shine, literally. With no ambient light, your lights control the entire look of the footage.
- Keep your primary dive light separate. Your primary and backup lights are for navigation and safety. The video light is extra.
- Turn the power down. Without sunlight to compete with, moderate output often looks better and extends burn time.
- Use red light for shy animals. Many video lights have a red mode. Some animals appear less disturbed by red light, which can help you approach them, though the footage will need correction or will look red.
- Don’t blind your buddy or other divers, and don’t keep a bright light trained on one animal for long. Lights can disorient marine life and draw predators to prey.
- Agree on light signals before the dive, and keep video lights from being mistaken for them.
Lights in wrecks, caverns and caves
Overhead environments add another layer: lights become critical safety and communication equipment. If you are trained for these dives, keep camera lighting simple and secondary, and avoid adding equipment before you have the experience to manage it. NSS-CDS standards require a minimum of 100 dives in an overhead environment before using any additional equipment because of task loading. Our guide to filming wreck and cave dives responsibly goes deeper.
Camera settings when using lights
- Remove filters when lights are your main light source, or everything turns red.
- Set white balance near your light’s color temperature (often around 5,000–5,500 K) when you want consistent color, or use auto in mixed light.
- Use slight negative exposure compensation on close subjects to avoid blown-out highlights.
- Lock or limit ISO so the camera doesn’t add unnecessary noise in dark scenes.
Common lighting mistakes
- Using a narrow-beam dive light for wide-angle video.
- Lighting subjects from too far away and expecting color.
- Pointing lights straight ahead from beside the lens in murky water.
- Running lights at full power on close subjects.
- Forgetting to charge, or bringing spare batteries only to leave them in the hotel.
Mount your camera and your light, hands-free
RegMount holds an action camera or a compact light right on your regulator second stage, pointed where you look. Pair it with the Accessory Pack for more mounting options.
Frequently asked questions
Can I use my regular dive torch as a video light?
You can, but results are usually poor with an action camera. Most dive torches have narrow beams that create a bright hot spot in the middle of a wide frame. A dedicated video light with a wide beam gives far more even footage.
How many lumens do I need for underwater video?
For close-ups and night dives, roughly 1,000–4,000 lumens per light is often enough. For fill light on daytime reef scenes, more output helps. Beam angle, CRI and getting close matter as much as raw lumens.
What CRI should a video light have?
80 is a reasonable minimum and 90 or higher is better. Higher CRI renders reds, skin tones and coral colors more accurately.
How do I get rid of backscatter?
Get closer to your subject, move lights out to the sides and slightly behind the lens, angle them outward and reduce power. Good buoyancy so you don’t stir up sediment helps too.
Should I use one light or two?
Two lights spread out to the sides give the most even coverage and the least backscatter. A single light held to one side can look more natural and dramatic, especially in clear water.