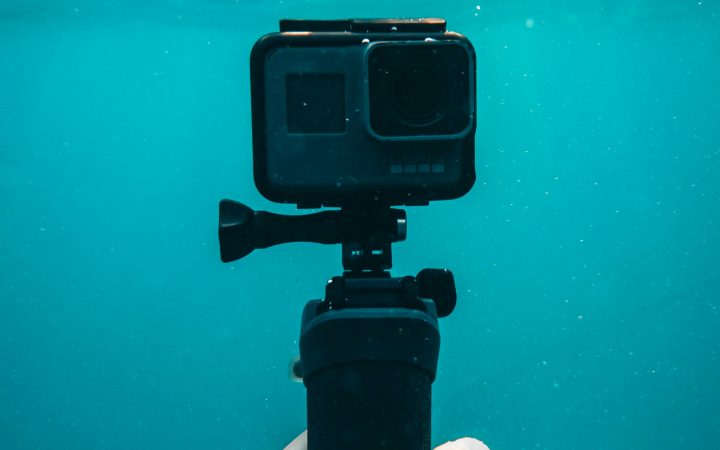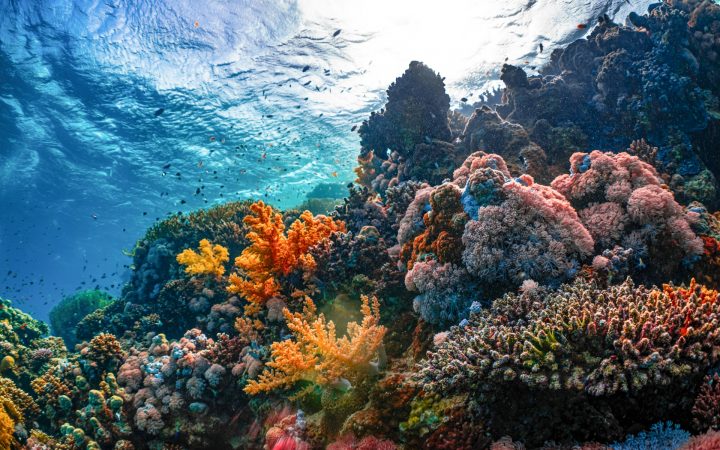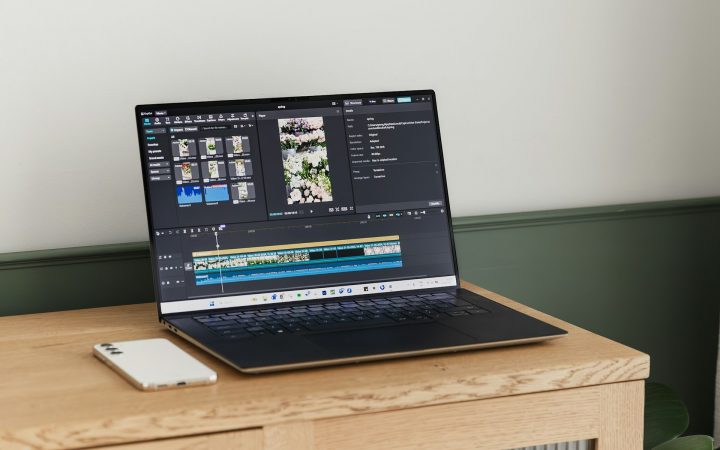
A point-of-view camera changes the job description. With a regulator- or head-mounted camera there is no viewfinder and no handle; your head is the tripod, your eyes are the framing and your buoyancy is the stabilizer. That is a huge advantage, because you stay hands-free and fully engaged in the dive, but it also means every glance at your computer and every quick look over your shoulder ends up on the card. The techniques below are the ones we teach divers who want their POV footage to look intentional instead of accidental.
Key takeaways
- Move your head at half speed and hold every interesting view for 5–10 seconds.
- Great buoyancy and horizontal trim are the foundation of steady, level POV footage.
- Get close and shoot slightly upward to separate subjects from the reef and keep color.
- Think in sequences: wide, medium, close, then a reaction or exit shot.
- Never chase, touch or harass marine life for a shot; patient divers get the best encounters.
Your head is the camera operator
With a regulator-mounted camera the lens points where your face points. This is what gives POV footage its immersive, “you are there” feel, and it is why RegMount was designed to sit on the second stage in front of the exhaust, where it tracks your head precisely and stays clear of bubbles. The flip side is that a normal glance, which takes your eyes a fraction of a second, becomes a whip pan that viewers find disorienting.
The slow-head rule
Turn your head at roughly half your natural speed whenever something interesting is in view. A left-to-right pan across a reef should take at least five seconds. If you need to check something quickly, such as your buddy or your computer, try to move your eyes rather than your head; when you must turn, accept that you will trim that moment out later.
Look, hold, then move
Editors need clips of usable length. When something catches your attention, settle on it and hold still for a slow count of five to ten before moving on. Those few seconds of stillness are worth more than minutes of wandering footage.
Pro tip: Practice the slow-head rule on your next dive without worrying about anything else. Review the footage that evening. Most divers are surprised at how fast their natural head movements look on screen, and the habit sticks after a dive or two.
Buoyancy and trim: the real stabilizer
Electronic stabilization smooths small shakes, but it cannot fix a diver who is bobbing up and down or rolling side to side. Every improvement in buoyancy shows up directly in your footage.
- Hover, do not fin, while filming a subject. Find neutral buoyancy, stop kicking and let the scene play in front of you.
- Use frog kicks or modified flutter kicks near the bottom to avoid silting up the shot for yourself and everyone behind you.
- Stay horizontal. A rolled body produces a tilted horizon. Level trim keeps reef lines and wreck decks straight.
- Breathe steadily. Deep, slow breaths keep you at a steady depth; big inhales and full exhales move you up and down in the frame.
- Weight correctly. Overweighted divers fin harder and tilt more. A buoyancy check at the end of a dive pays off in better video.
Angles and distance
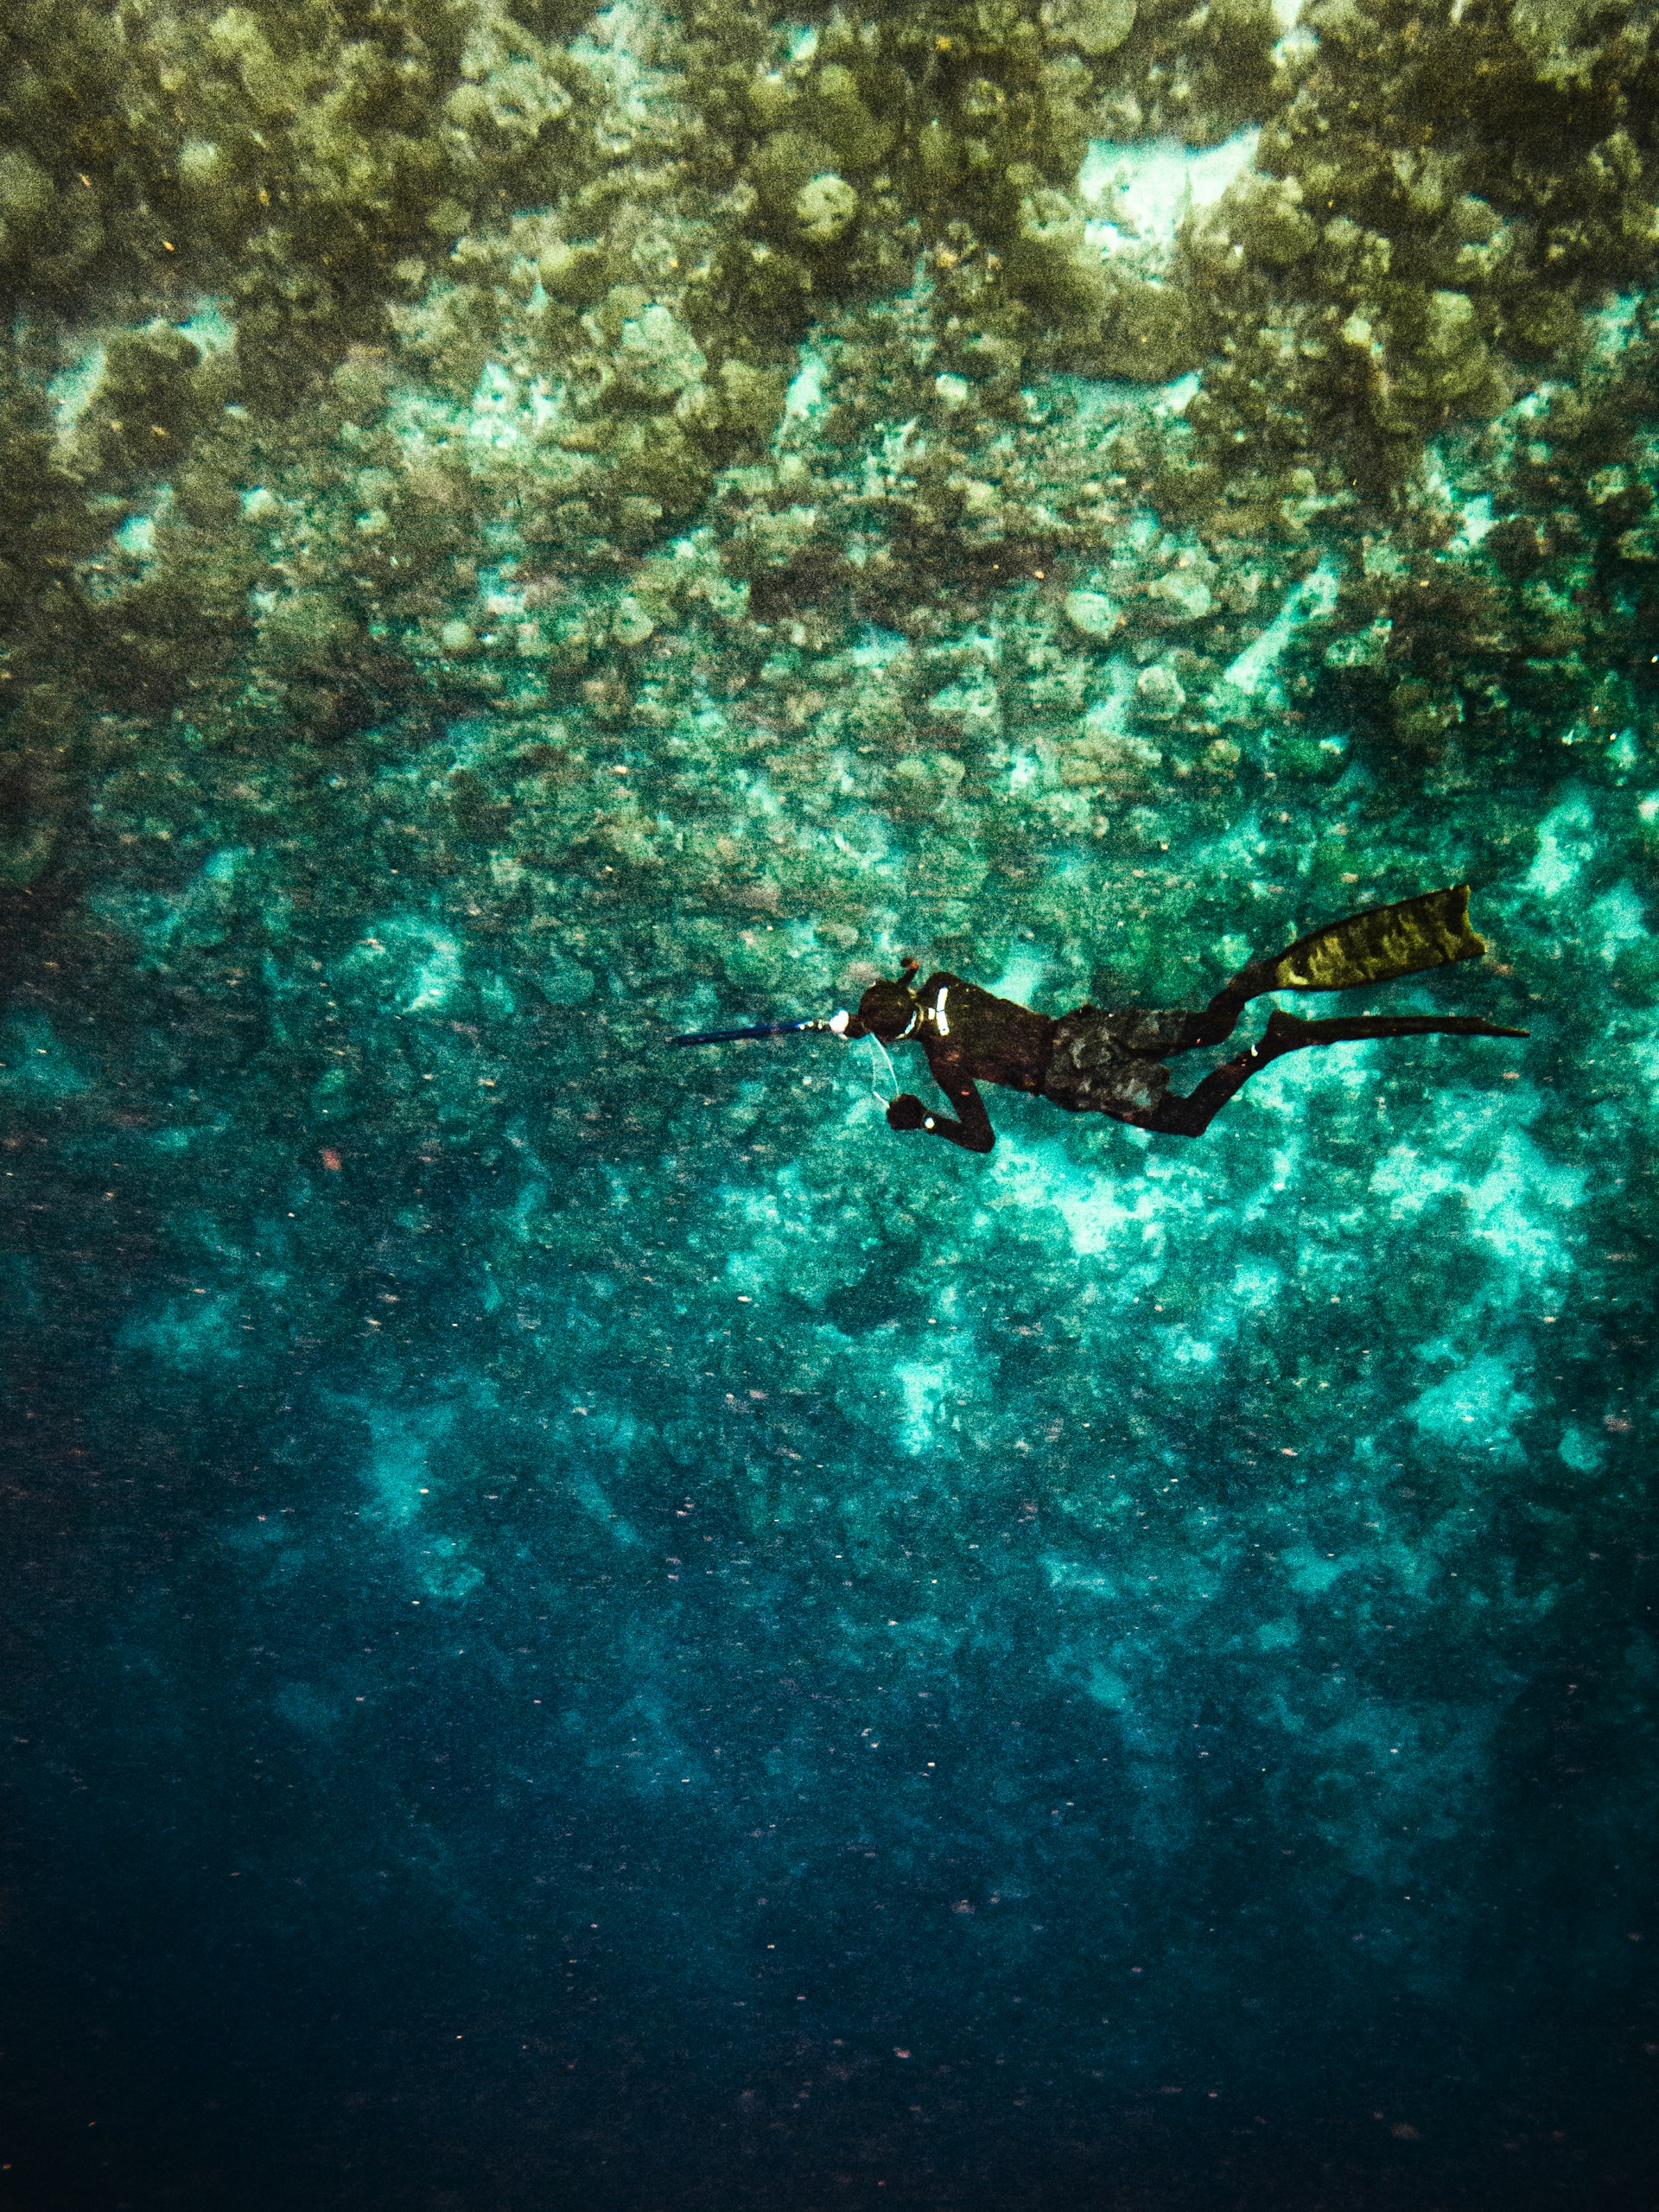
Get close, then closer
Water steals color and contrast with every foot between you and your subject. Most action cameras use a wide lens with deep focus, so you can approach within an arm’s length or two and still get sharp results. Closer also means fewer suspended particles between lens and subject, which reduces haze and backscatter. Our underwater color correction guide explains why distance matters so much for color.
Shoot slightly upward
Looking straight down at the reef produces flat, map-like footage where subjects blend into the background. Drop down to the subject’s level, with good buoyancy and without touching anything, and look slightly up. The subject separates against blue water, and the scene gains depth.
Mind the sun
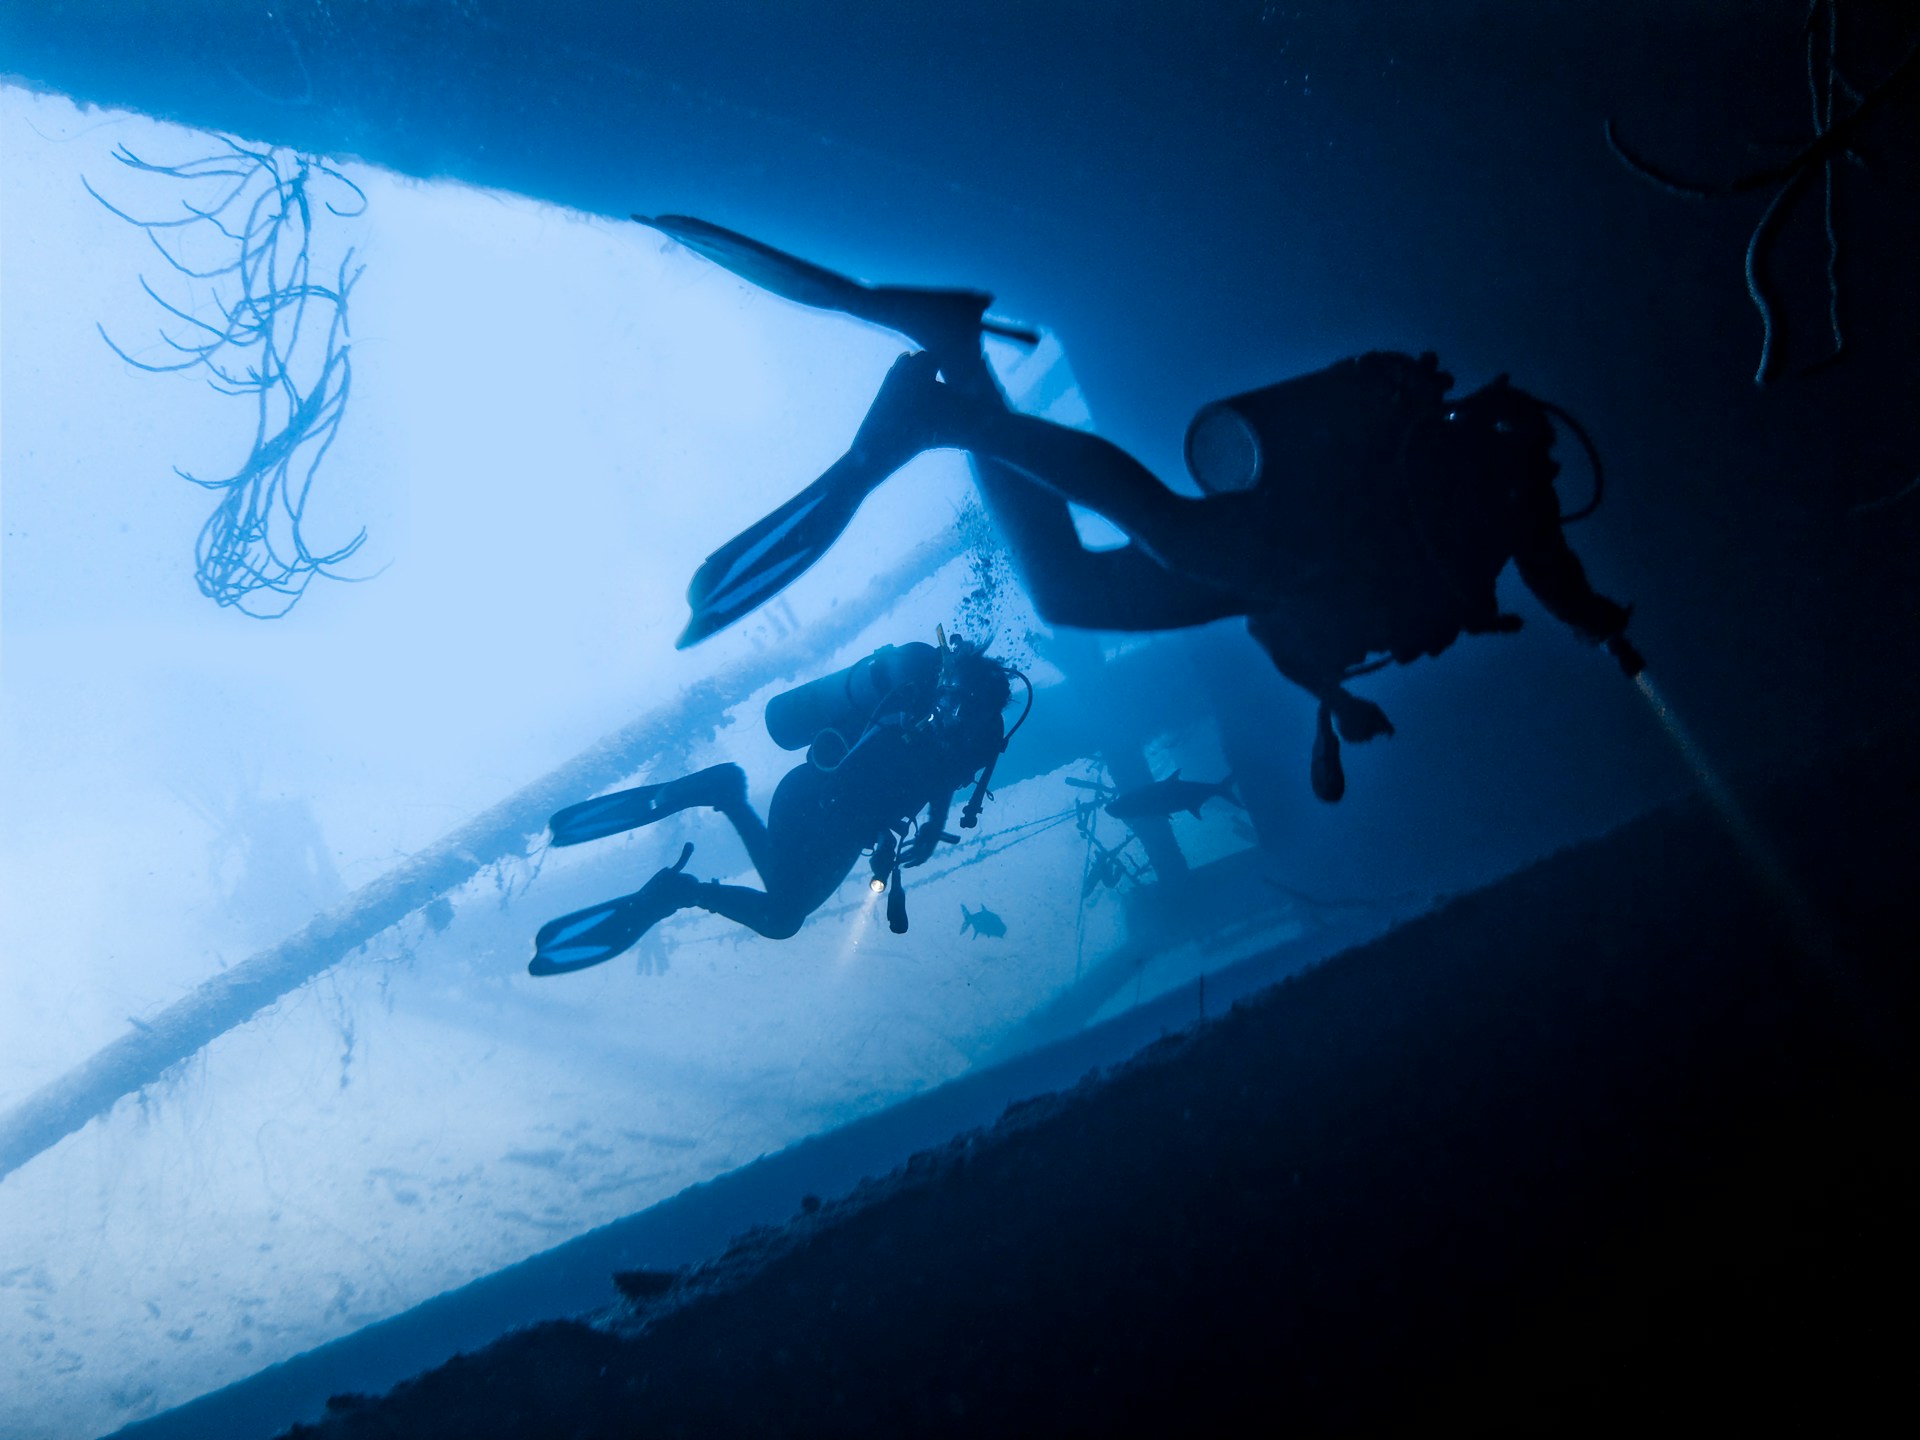
In shallow water, keep the sun behind you for color and clarity. For drama, turn toward it for sunbursts and silhouettes of your buddy, turtles or the hull of a dive boat, and lower your exposure compensation if you can.
Level horizons
Before you start a key shot, take a moment to make sure your head is level. If your camera offers horizon leveling, it can help, at the cost of some cropping.
Composition basics that translate underwater
Rule of thirds
Place your subject slightly off center with space in the direction it is moving or facing. A turtle swimming left should have open water on the left side of the frame.
Leading lines
Wreck rails, reef edges, sand channels and anchor lines draw the viewer’s eye through the frame. Follow them slowly.
Negative space
Open blue water around a manta, shark or school of fish emphasizes scale and calm. Resist filling every frame.
Scale
Include your buddy next to a big coral head, a wreck or a whale shark. Without a human reference, size disappears underwater.
Shoot in sequences, not single clips
Professional editors build scenes from a handful of shot types. You can capture the same variety hands-free just by changing your position, which is easier than it sounds when your camera already goes where you look.
| Shot | How to get it with a POV camera | Hold for |
|---|---|---|
| Establishing (wide) | Hover back from the reef or wreck and look across the whole scene | 8–10 seconds |
| Medium | Move to within a few body lengths so the subject fills about a third of the frame | 5–8 seconds |
| Close-up / detail | Approach slowly to within an arm’s length; keep still | 5–10 seconds |
| Reveal | Swim slowly over a ledge or around a coral head to uncover the scene behind it | Let it play out |
| Tracking | Swim parallel to a moving subject at its speed, never toward or after it | As long as it is comfortable |
| Reaction | Turn slowly to your buddy as they signal or react | 3–5 seconds |
| Exit | Hold still and let the subject swim out of frame | Until it leaves |
A five-step encounter routine
Stop and stabilize
When you spot something, stop finning and settle your buoyancy before doing anything else.
Capture the wide view
Hold your head still on the whole scene for several seconds so the viewer knows where they are.
Approach slowly
Move in gradually, low and from the side rather than head-on, with calm breathing. Stop at a respectful distance for a medium shot.
Go for the detail
If the animal stays relaxed, ease closer for a detail shot. If it shows signs of stress, back off.
Let it leave
Hold still and let the subject exit the frame. That natural ending makes the clip easy to cut.
Tell the story of the dive
The videos people rewatch have a beginning, middle and end. With a camera on your regulator you can capture the whole arc without fuss:
- Opening: the boat ride, briefing or giant stride entry (keep it short).
- Descent: the reef or wreck appearing below, your buddy giving the OK.
- Exploration: two or three sequences built with the routine above.
- Highlight: the turtle, shark, octopus or wreck feature that made the dive.
- Close: the safety stop with sun rays overhead, then the surface.
Want to vary the angle? Many divers move the camera to their octopus for a few minutes to film selfies with their buddy or slide it under a ledge to see what is hiding there, without putting a hand anywhere near the reef. When you are ready to cut it all together, our beginner editing workflow covers trimming, color and music.
Settings matter too. POV footage benefits from 60 fps in bright water, because smoother motion hides small head movements. Switch to 30 fps when light gets dim. See our best GoPro settings for scuba diving for full presets.
Mistakes that ruin POV dive footage
- Constant motion. Footage without any still moments is exhausting to watch. Hover more, fin less.
- Chasing marine life. Animals flee from pursuit, and the footage becomes a view of a tail. Let them come to you.
- Shooting everything from above. Get down to subject level with buoyancy control and look slightly up.
- Too far away. If the subject looks small in the frame, it was too far for color and clarity anyway.
- Forgetting the camera is rolling. With a regulator mount you can always see the camera, so glance at the recording indicator at every gauge check.
- Bubbles in frame. On head and mask mounts, exhaust bubbles cross the lens with every breath. Mounting in front of the exhaust solves it; our mount comparison explains why.
The dive comes first. Filming should never pull your attention from depth, gas supply, no-decompression limits or your buddy. Brief your buddy on what you plan to film, keep to your training and certification, and never touch, feed or harass wildlife for a shot. Follow local rules in marine protected areas.
Working with your buddy
Your buddy is the most useful subject you have. A quick surface briefing goes a long way: agree on a signal for “swim into my view,” ask them to move slowly and stay level in front of interesting scenery, and decide in advance who leads navigation while the other films. Reaction shots of your buddy pointing at a seahorse or giving a big OK to a passing ray add the human element that makes dive videos personal.
Frame every dive from your point of view
The RegMount Complete Diver Kit pairs the regulator mount with the Accessory Pack (J-hook adapter, 3M adhesive and universal base clip mount) for the best POV angle on every dive.
Frequently asked questions
How do I make POV dive footage less shaky?
Improve buoyancy and trim, move your head slowly, hold shots for 5–10 seconds and turn on your camera’s stabilization. Higher frame rates in good light also make motion look smoother.
How long should each underwater shot be?
Aim for at least 5 seconds of steady footage on anything interesting and 8–10 seconds for wide establishing views. That gives you usable clips when editing.
What is the best angle for underwater POV video?
Get down to your subject’s level and look slightly upward, so it stands out against open water rather than blending into the reef below.
Should I record continuously or in short clips?
With a hands-free regulator mount, many divers record continuously from descent to safety stop so they never miss a moment, then trim in editing. Make sure your card and battery can cover the full dive.
How close should I get to marine life?
Close enough for color and clarity, but never so close that the animal changes its behavior. Approach slowly from the side, never chase, and back away if it shows signs of stress.