A GoPro straight out of the box is tuned for bright sunshine on land. Underwater, light fades with depth, red disappears first, and suspended particles scatter whatever is left. The good news is that a few deliberate settings changes make a bigger difference to dive footage than any accessory. Below are the settings we use and recommend, why each one matters, and presets for the conditions you are most likely to dive. Menu names vary slightly between models and firmware versions, so treat these as principles that map onto any recent HERO camera or similar action cam.
Key takeaways
- Shoot 4K at 30 fps in low light and 4K at 60 fps when there is plenty of light or you want smoother POV motion.
- Use Wide or Linear lens; underwater the flat housing port already narrows the field of view.
- Cap ISO at 800–1600 so the camera does not drown dark scenes in noise.
- Pick Auto white balance plus a filter for simplicity, or a fixed/Native white balance with a flat profile if you color-correct in editing.
- Turn on Protune so you can control ISO, sharpness, color and exposure compensation.
How water changes what your camera sees
Three physical effects drive every setting choice below:
- Light loss. Water absorbs light quickly, so even a sunny day gets dim at depth. Less light pushes the camera to raise ISO, which adds noise, or lower the shutter speed, which adds blur.
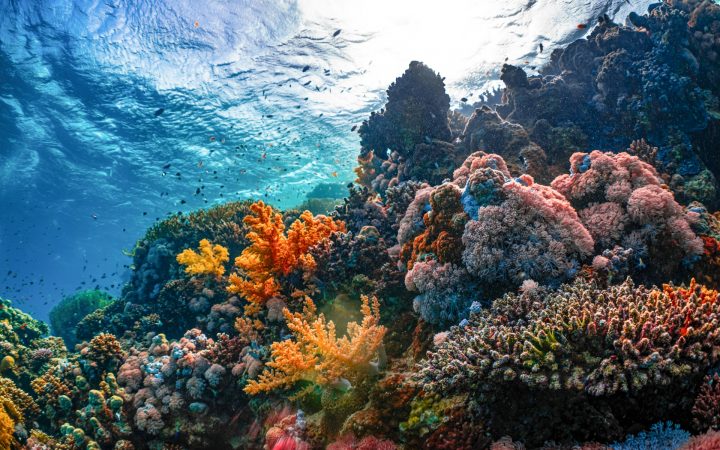
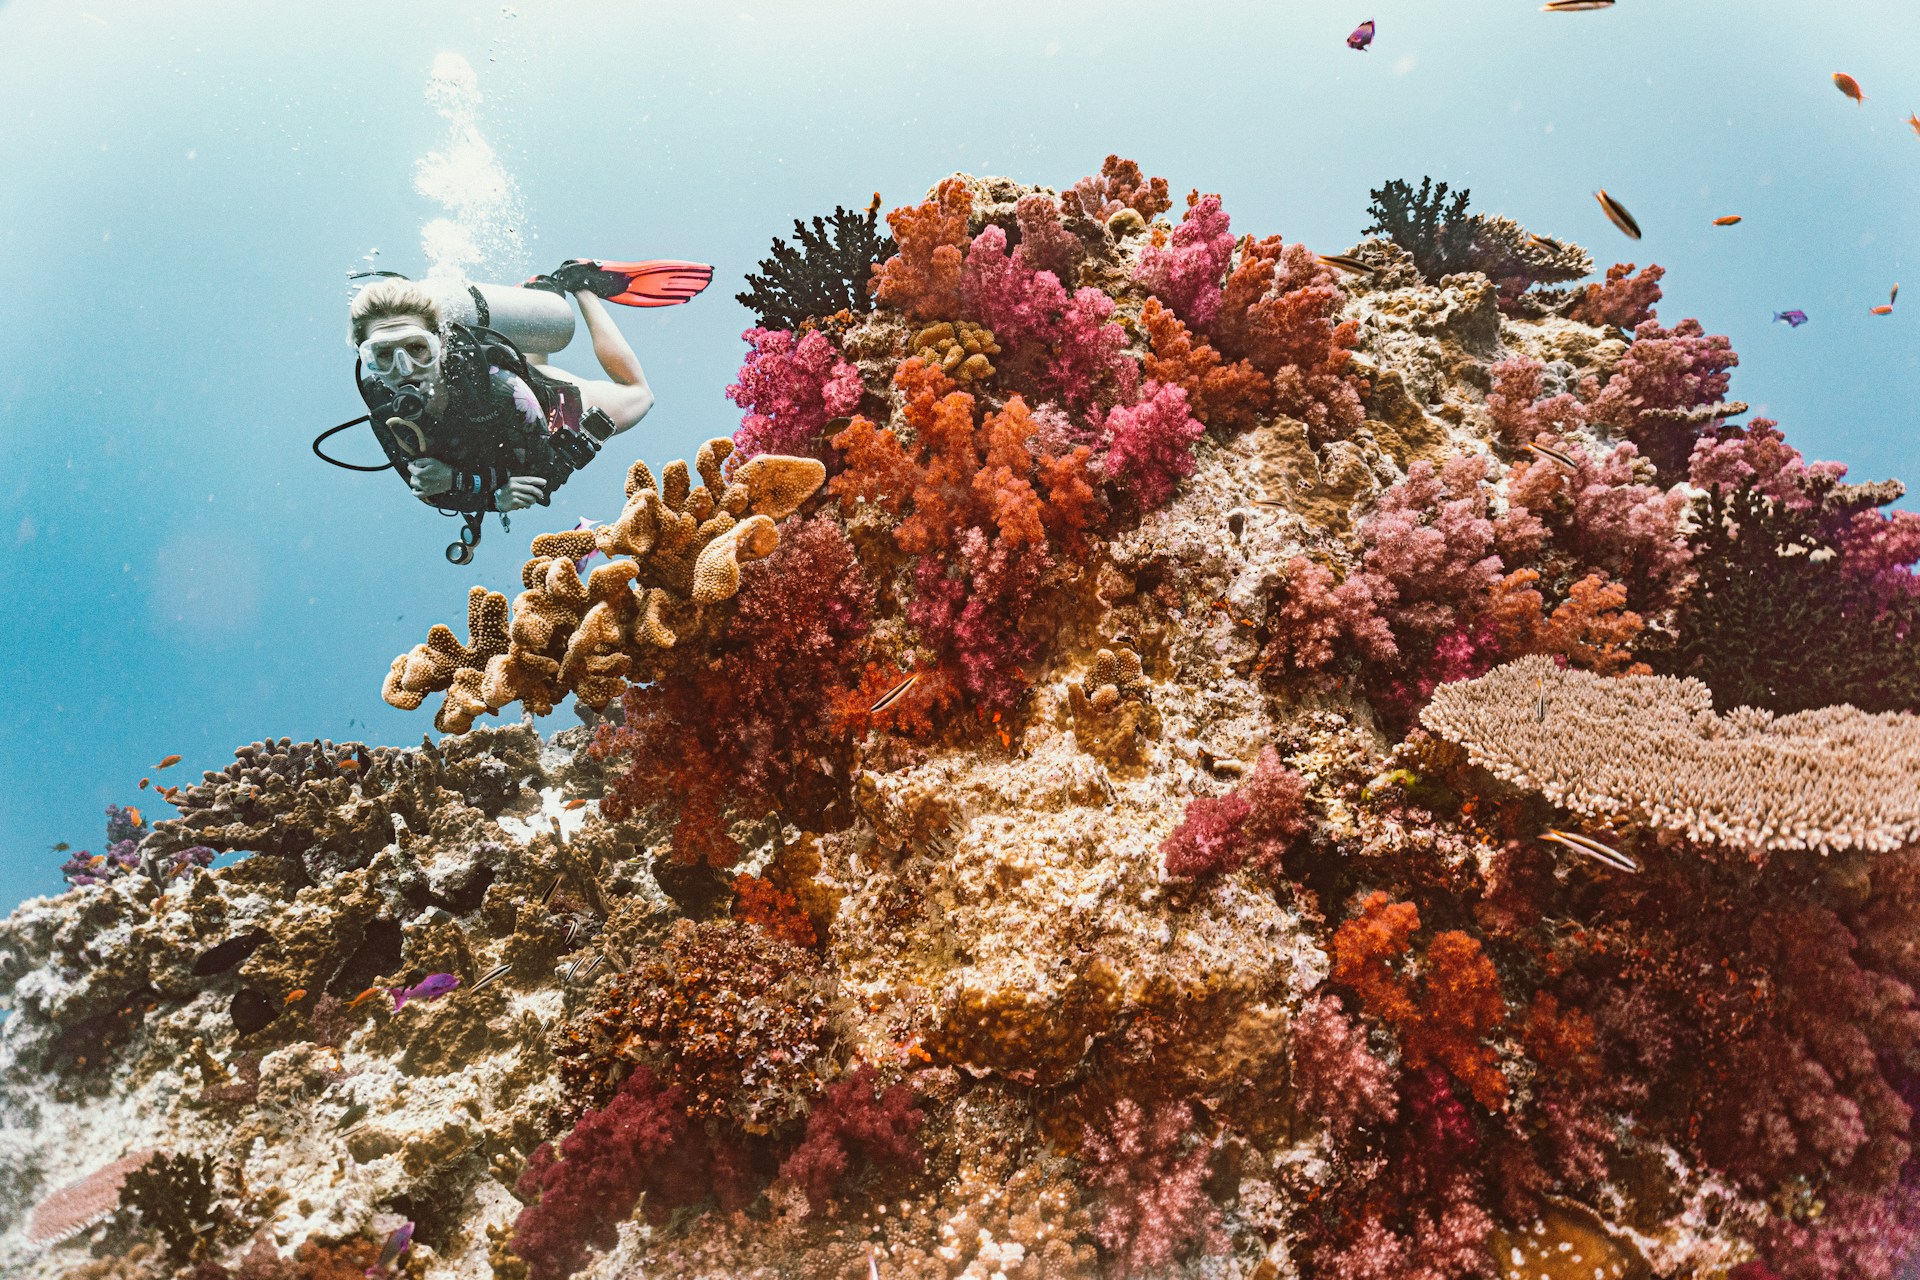
- Color loss. Red is absorbed within the first few meters, followed by orange and yellow. By the middle of a typical recreational dive, everything turns blue or green unless you add light or correct color. We cover the fixes in our color correction and filters guide.
- Magnification. A flat housing port refracts light so subjects appear about a third larger and closer, and the effective field of view shrinks by roughly a quarter. The ultra-wide look you see on land becomes noticeably tighter underwater.
Resolution and aspect ratio
Recommendation: 4K for most divers. It gives sharp footage, room to crop or stabilize in editing, and reasonable file sizes. 5.3K and higher modes look excellent in bright shallow water but fill cards faster, drain batteries quicker and gain you little in dim, particle-filled water.
If your camera offers a taller aspect ratio such as 4:3 or 8:7, consider it for POV diving. The extra vertical coverage keeps the reef and the water column in the frame and lets you reframe later for widescreen or vertical social clips. If you never edit, 16:9 is simpler and ready to share.
Frame rate
| Frame rate | Use it when | Trade-off |
|---|---|---|
| 24 fps | You want a cinematic look and plan to edit carefully | Motion looks choppy if you move your head or camera quickly |
| 30 fps | Low light, deeper dives, green or murky water | Allows longer exposures per frame, so cleaner images in dim water |
| 60 fps | Bright shallow reefs, POV footage with lots of motion | Needs more light; smoother motion and 2x slow-motion option |
| 120 fps and up | Slow-motion of fast action in very bright, shallow water | Noisy or dark below the shallows; large files; reduced battery life |
For a regulator-mounted camera, 60 fps is a strong default in good light because head movement translates directly into camera movement, and higher frame rates make that movement look smoother. Drop to 30 fps once the scene gets dim.
Digital lens (field of view)
Recommendation: Wide for most POV diving; Linear if you dislike fisheye distortion.
SuperView and HyperView stretch the edges of the frame. On land that feels immersive; underwater it exaggerates the softness and color fringing that already appear at the corners behind a flat port. Wide keeps most of the coverage with less stretching. Linear corrects the barrel distortion so reef lines and wreck edges stay straight, at the cost of a slightly narrower view. If your camera has a horizon-leveling lens option, it can rescue footage when you roll your head, though it crops the frame further.
Stabilization
Turn on HyperSmooth (or your camera’s electronic stabilization) at the standard setting. Water already damps motion, so maximum or boost modes are rarely needed and they crop the image. If you plan to stabilize in editing software instead, record with stabilization off and use a wider field of view to give the software room to work.
White balance and color profile
White balance is where most dive footage succeeds or fails. You have two sensible paths.
Path 1: Simple and share-ready
- White balance: Auto
- Color profile: the camera’s standard or Natural setting
- Add a red filter in blue water or a magenta filter in green water, roughly between 15 and 60 feet
Recent GoPro models handle auto white balance underwater reasonably well in shallow water, and a filter adds back warmth the camera cannot invent on its own.
Path 2: Best quality if you edit
- White balance: Native or a fixed value (5500K–6500K)
- Color profile: Flat or Log, in 10-bit if available
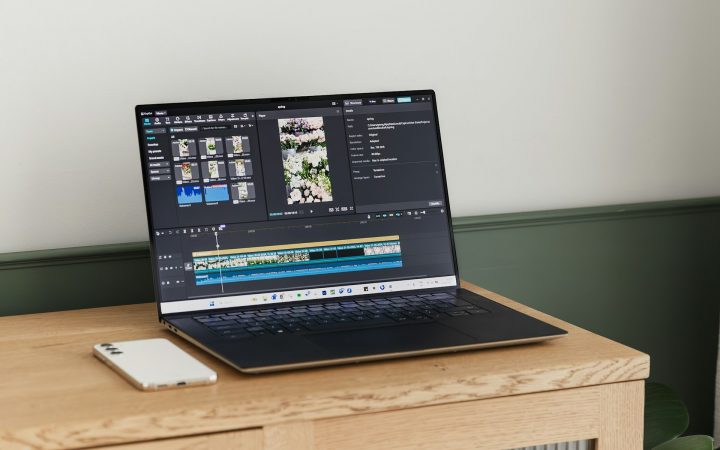
- Correct color in your editing software with a white-balance eyedropper and curves
A fixed white balance prevents the color from drifting mid-clip as the camera re-evaluates every scene, which makes grading much easier. Flat and Log profiles retain more highlight and shadow detail but look dull until you correct them, so only use them if you will actually edit. Our beginner editing workflow walks through the process.
Do not combine a red filter with video lights. Lights restore true color on close subjects; a filter on top of that turns them pink or red. Remove the filter for lit close-ups and night dives.
Protune settings that matter underwater
| Setting | Recommendation | Why |
|---|---|---|
| Protune | On | Unlocks the manual controls below |
| Bit rate | High | Underwater scenes full of particles and gradients compress poorly at lower bit rates |
| ISO minimum | 100 | Lowest noise when light allows |
| ISO maximum | 800 shallow, 1600 deeper or dim | Above this, noise usually outweighs brightness |
| Shutter | Auto | Light changes constantly underwater; manual shutter needs ND filters to be useful |
| Exposure compensation | 0, or -0.5 over bright sand and near the surface | Protects highlights in sunbeams and white sand |
| Sharpness | Low (if editing) or Medium | Heavy in-camera sharpening makes backscatter and noise look worse |
| Audio | Default | Underwater audio is mostly regulator noise; plan to replace or lower it in editing |
Presets by dive conditions
Save these as custom presets so you can switch on the boat with one press.
Bright tropical reef (0–40 ft)
4K, 60 fps, Wide lens, Auto WB with red filter below about 15 ft, ISO max 800, EV 0 or -0.5, sharpness Medium.
Mid-depth blue water (40–100 ft)
4K, 30 fps, Wide, Auto WB with red filter or fixed 6000K–6500K, ISO max 1600, EV 0, sharpness Low.
Green or murky water
4K, 30 fps, Linear or Wide, magenta filter, ISO max 1600, EV 0. Get closer to subjects to cut through particles.
Night dives and video lights
4K, 30 fps, Wide, no filter, fixed WB around 5000K–5500K to match your lights, ISO max 1600. See our underwater video lighting guide.
Card, battery and power settings
- Memory card: use a fast, reputable microSD card rated V30 or higher. At 100 Mbps, an hour of footage is about 45 GB, so a 128 GB card covers a typical two-tank day with headroom.
- Auto power off: set a longer interval or Never, so the camera is not asleep when you reach the reef.
- Wireless and GPS: turn off when not needed to save battery.
- Screen brightness: moderate; the rear and front screens are significant power users.
- QuikCapture: enable it so one press of the shutter button powers on and starts recording, which is ideal when your camera is on your regulator and you just want to roll.
- Battery: start every dive with a fresh battery. Cold water shortens battery life noticeably, so carry spares in a dry box and swap between dives.
Pre-dive camera checklist
Power and storage
Fresh battery installed, card formatted in the camera, correct preset selected.
Housing and seals
O-ring clean and free of hair, sand or lint; latch fully closed; anti-fog insert in place. Our gear care guide covers seal maintenance.
Mount and angle
Camera secured, thumb screw tight, angle set for horizontal trim, tether attached. New to regulator mounting? Start with how to mount a GoPro on your scuba regulator.
Start recording at the right moment
Hit record after your descent check, confirm the recording indicator, and glance at it at every gauge check. With the camera on your regulator, it is always in view.
Settings come second to diving. Change presets on the boat, not at depth. If a camera issue starts pulling your attention away from depth, gas, buoyancy or your buddy, stop filming and dive. Stay within your training and certification limits.
Troubleshooting common problems
Footage is blue or green
Add a filter appropriate to the water color, get closer to your subject, use lights for close work, and correct white balance in editing.
Footage is noisy and grainy
Lower the ISO maximum, drop to 30 fps, and shoot closer to the surface or with lights. Noise is a light problem first and a settings problem second.
Sunbeams and sand are blown out
Set exposure compensation to -0.5 or -1.0 and avoid pointing directly at the sun near the surface.
Image is soft at the edges
Switch from SuperView or HyperView to Wide or Linear, clean the housing port and check for fogging.
Great settings deserve a great angle
RegMount puts your camera on your regulator, in front of the exhaust, pointing exactly where you look. Hands-free, low profile and always in view.
Frequently asked questions
Should I use 4K or 1080p for scuba diving?
4K is the best balance for most divers. It looks sharp, gives you room to crop and stabilize, and modern cards and computers handle it easily. 1080p is fine if storage or editing power is limited.
Is 30 fps or 60 fps better underwater?
Use 60 fps in bright, shallow water or when your camera moves a lot, as with POV mounts. Use 30 fps when light is limited, because each frame can collect more light.
What white balance should I use on a GoPro underwater?
Auto white balance with a red or magenta filter is the simplest approach. If you edit, a fixed or Native white balance with a flat color profile gives you consistent footage to correct later.
Does GoPro have an underwater mode?
Features vary by model and firmware. Rather than relying on a single mode, set Protune controls, white balance and lens choice as described above and save them as a custom preset.
Do these settings work on cameras other than GoPro?
Yes. The principles apply to any action camera, though menu names differ. GoPro is a trademark of GoPro, Inc.; RegMount is not affiliated with GoPro.