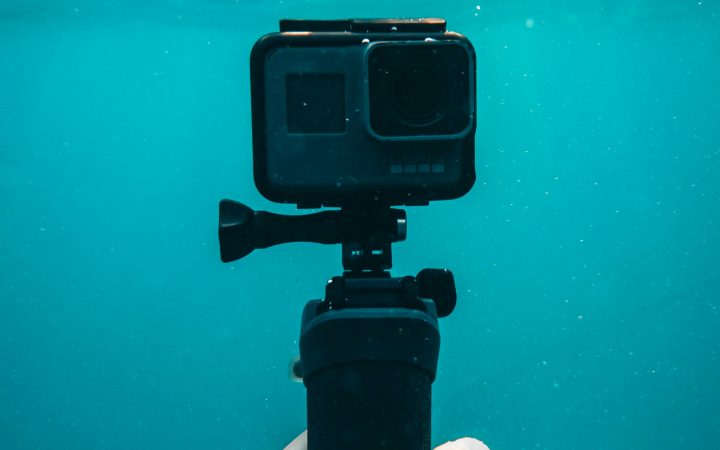
Most underwater camera failures aren’t caused by the camera itself. They come from salt crystals in a button, a single hair across a housing gasket, a port that fogs on the first descent, or a buckle that has dried out and gone brittle in the sun. All of these can be prevented, and the prevention takes a few minutes a day. This guide covers the routine we use on our own rigs: rinsing, gasket and o-ring care, anti-fog, batteries, mount hardware including the RegMount clamp, and storage between trips.
Key takeaways
- Soak, don’t just splash. Ten to twenty minutes in fresh water, while working every button and latch, dissolves the salt that makes buttons stick and threads seize.
- Inspect the housing gasket every time you open the housing. Hair, sand and lint cause more floods than worn seals.
- To prevent fog, close the housing in cool, dry air and use anti-fog inserts.
- Rinse the mount hardware, including clamps, threads, buckles and silicone bands, as carefully as the camera.
- Store everything clean, dry, out of the sun, with batteries at partial charge and gaskets uncompressed.
Why salt is the main problem
Seawater leaves dissolved salt behind when it evaporates. Those crystals collect wherever water sits: under buttons, in latch hinges, around thumb screws and in clamp threads. Over a few days they turn into a crust that jams buttons, stiffens latches and can make threads bind. They’re also abrasive. Wipe a salty lens port with a dry cloth and you’re rubbing tiny crystals across it. The answer isn’t more scrubbing. It’s dissolving the salt before it dries.
The post-dive routine
Keep it wet and shaded until you rinse
Between dives, keep the camera out of direct sun. A damp towel over it on the boat helps. Salt can’t crystallize while the gear stays wet, and the housing stays cooler, which helps prevent fog later.
Soak in fresh water for 10 to 20 minutes
Use a camera-only bucket or tub if you can. Communal rinse tanks are where cameras get scratched, dropped under heavy gear, or picked up by someone else. Lukewarm tap water dissolves salt faster than cold. Don’t use hot water.
Work every moving part while it’s submerged
Press each button 10 to 15 times, open and close the latch (with the door shut and sealed), and work buckles and thumb screws. This flushes salt out of the places a quick dunk doesn’t reach.
Dry the outside before opening
Shake off the water, then towel-dry the housing, paying attention to the door seam and latch. Open it with the door facing down so any remaining drops fall away from the camera.
Air dry in the shade
Let the housing, mounts and tether dry completely before packing. Never dry gear in direct sun or on a hot dashboard. UV and heat age plastics, silicone and gaskets.
Rinsing your regulator with the camera on: If you rinse your regulator with the RegMount still attached, follow normal regulator care. Keep the first-stage dust cap firmly in place and don’t press the purge button while rinsing an unpressurized regulator, because that can let water travel up the hose into the first stage. Your regulator manufacturer’s care instructions always come first.
Housing gaskets and o-rings
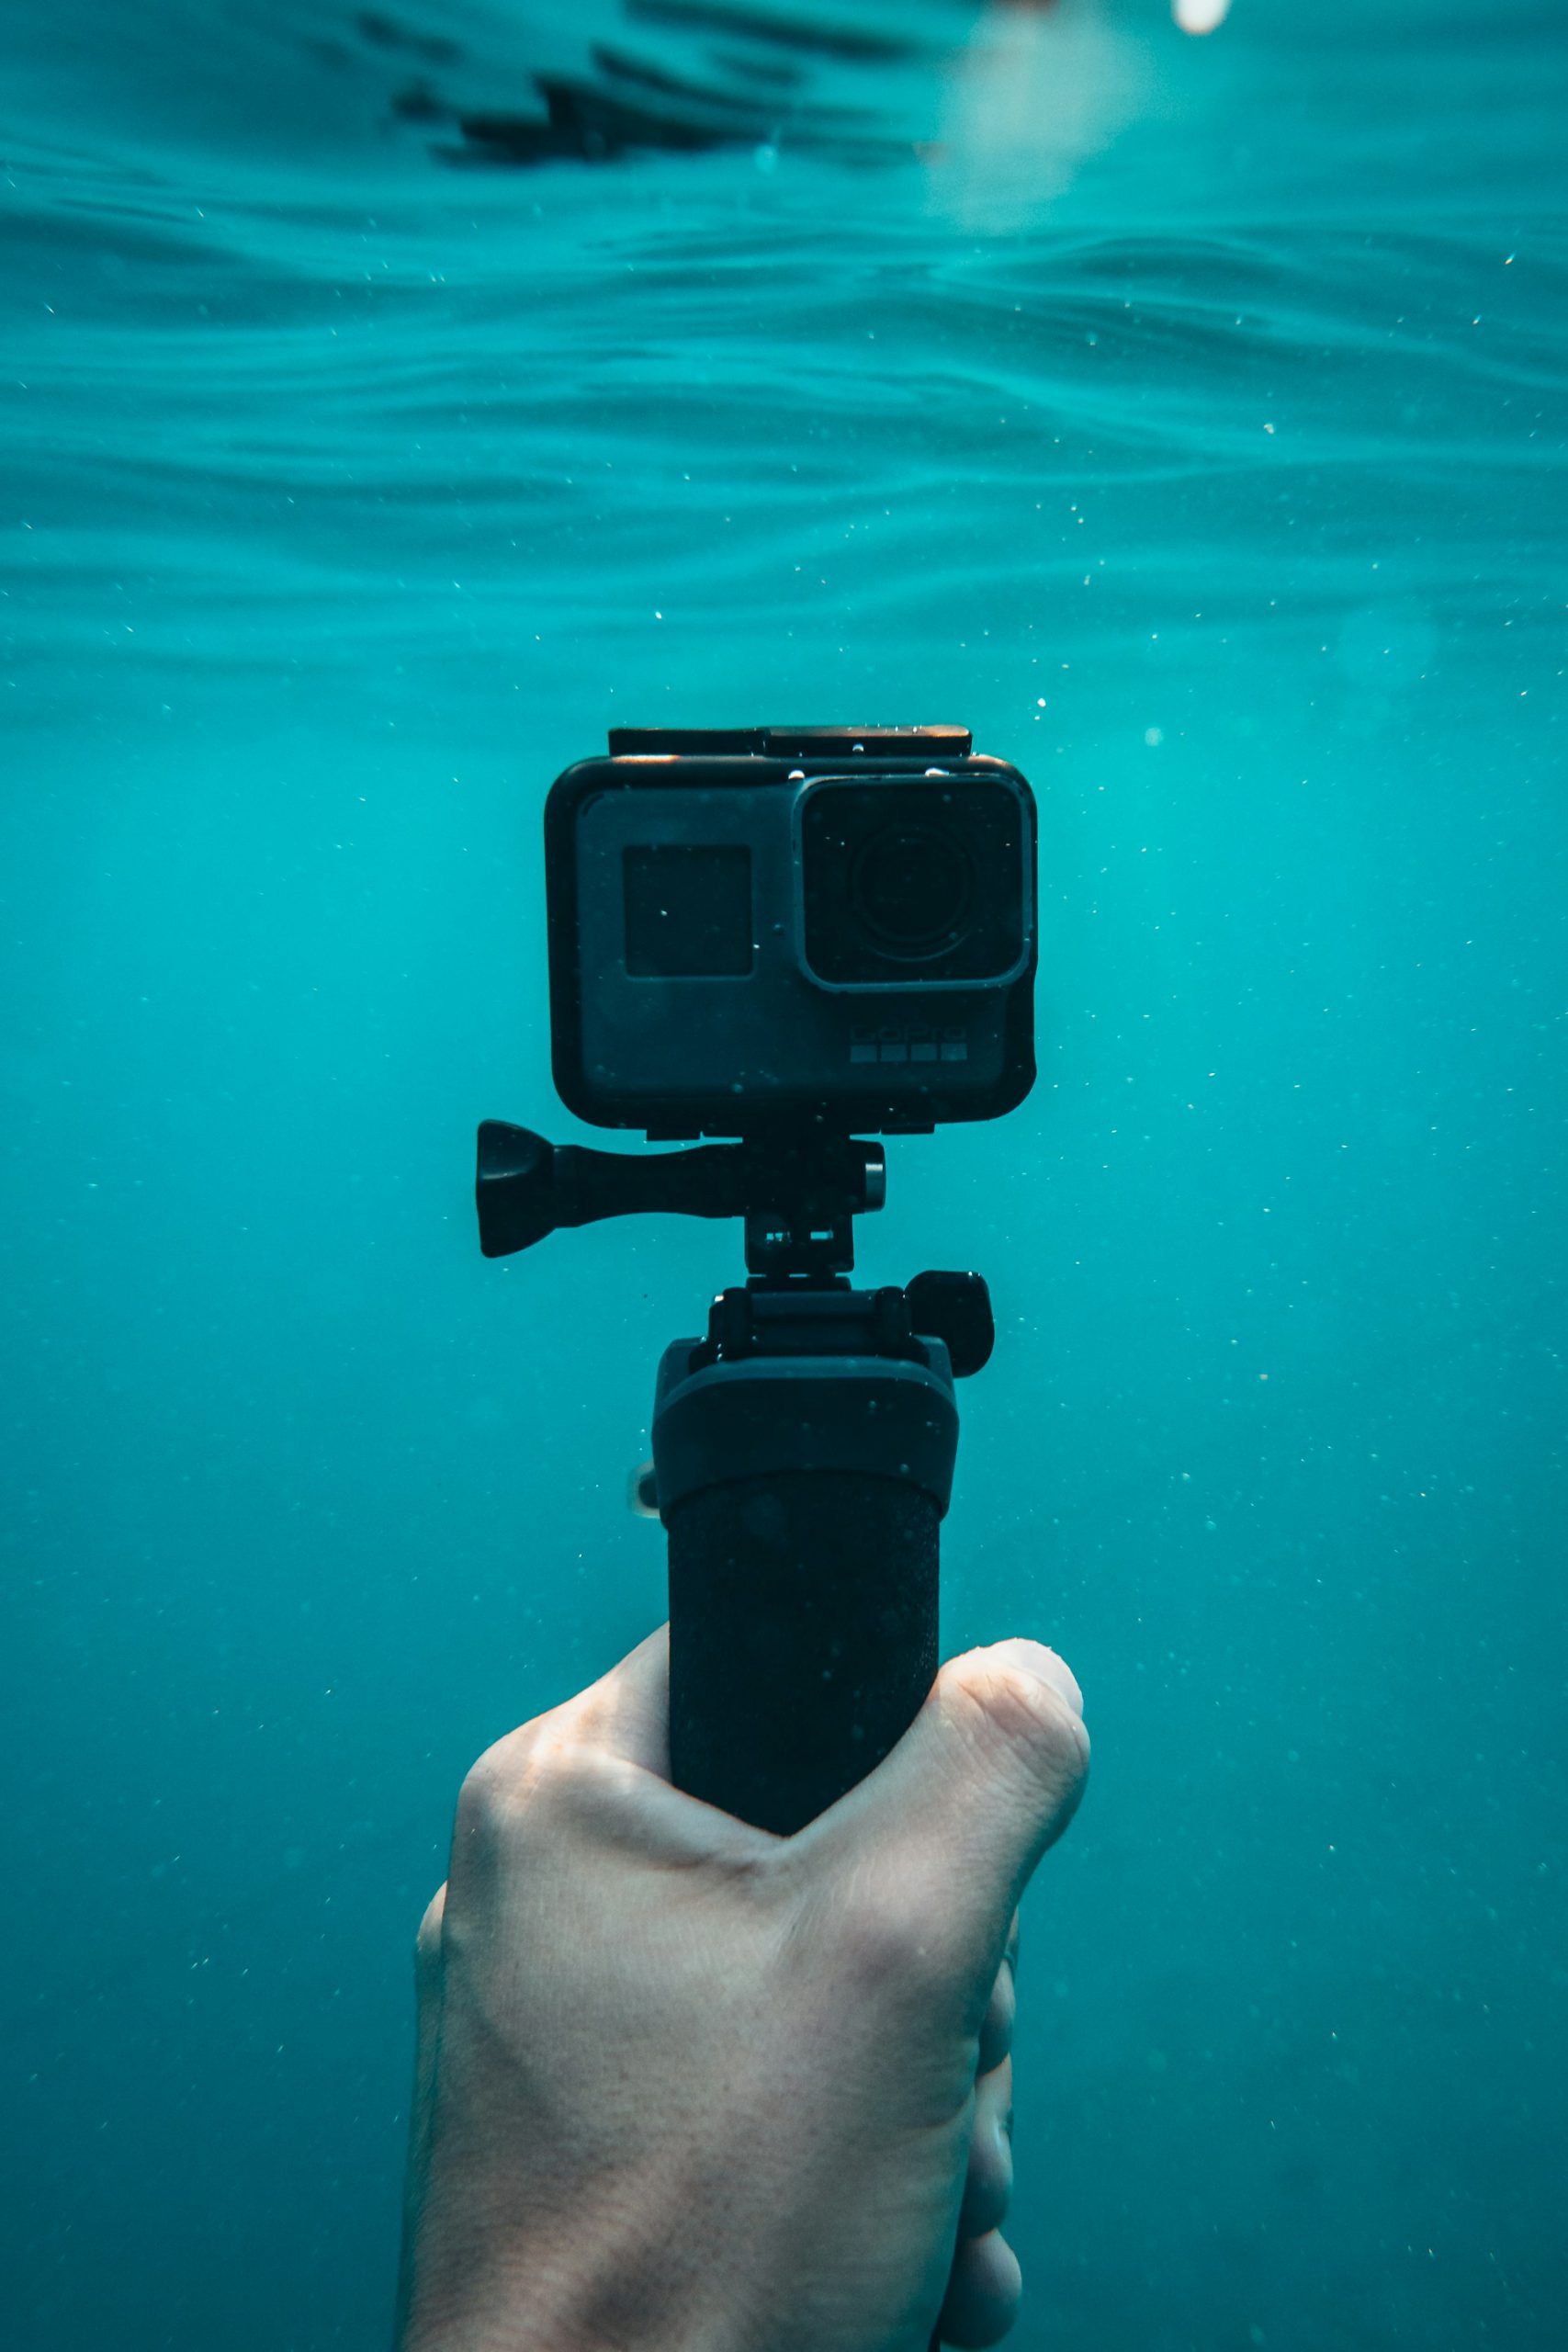
The housing seal is the only thing between the sea and your camera. Most action camera housings use a silicone gasket in the door, and larger housings use o-rings in grooves. In both cases, a seal fails when something gets in its way or when it’s damaged.
Inspect every time you open the housing
- Look for debris: hair, lint, sand, sunscreen residue and salt crystals. One hair is enough to cause a slow leak.
- Feel for damage: run a clean fingertip around the seal to find nicks, flat spots, cuts or a seal that has twisted out of its groove.
- Check the sealing surface too: the edge the gasket presses against needs to be clean and free of scratches.
Clean, and lubricate only if the manufacturer says to
Clean seals with a lint-free cloth or a soft brush. Many action camera housings are designed to be used dry. Adding grease attracts sand and lint and can cause leaks. Use lubricant only if your housing manufacturer recommends it, and then use only the specified silicone grease in a very thin film. Never use petroleum-based products on seals. Replace gaskets on the manufacturer’s schedule, or as soon as they look flattened, cracked or deformed. Replacement gaskets are cheap compared with a flooded camera.
Pro tip: Before every trip, and whenever you replace a gasket, test the housing empty. Close it with a folded tissue inside, weight it down in a sink or bucket for 10 to 15 minutes, then dry the outside and check the tissue. A damp spot means it’s back to the bench, with no camera at risk.
Preventing fog
Fog forms when warm, humid air trapped inside the housing hits a port cooled by the water. The camera also heats up as it records, especially at high resolutions and frame rates, which makes the problem worse. To prevent it:
- Close the housing in cool, dry air, ideally in an air-conditioned room, not on a humid deck or after a hot car ride.
- Use anti-fog inserts. These small absorbent strips go in the housing beside the camera. Dry them between uses according to their instructions, or replace them.
- Keep the camera cool before the dive. Shade it, don’t leave it recording in the sun on the boat, and start recording just before entry if heat is an issue.
- Don’t open the housing between dives unless you need to. Every time you open it in tropical air, you let in more moisture.
- Keep the inside of the port clean. Fingerprints and residue give moisture something to condense on.
Lens port and camera body care
A scratched port shows up in every frame. Rinse sand off before you wipe anything, and only clean the port with a clean microfiber cloth, never paper towels, T-shirts or a dive glove. Sunscreen and insect repellent smear ports, and some solvents, including DEET, can damage certain plastics, so wash your hands before handling the housing. When the camera isn’t in use, fit a port cover or keep it in a padded case.
Batteries and memory cards
Lithium-ion batteries
Charge them in a cool, shaded place, never in a hot car or in the sun. For storage longer than a few weeks, leave them at partial charge (roughly half) rather than full or empty. Retire any battery that swells, gets unusually hot or loses capacity quickly. Flying with batteries has its own rules. See our guide to traveling with dive camera gear.
Memory cards
Format cards in the camera, not on a computer, at the start of each trip. Offload and back up every evening. Label your cards and use them in rotation, and keep a spare in your bag. A card that throws errors should be retired, not trusted for “just one more dive.”
Caring for mounts, clamps and tethers
Mount hardware is easy to forget, and it’s where salt does a lot of quiet damage. A seized thumb screw or a corroded clamp nut can ruin a dive day, and a worn buckle is one of the most common causes of lost cameras. Our guide on how to avoid losing your action camera underwater covers the loss side in detail.
RegMount-specific care
- Stainless steel clamp: Stainless steel resists corrosion well, but salt left in threads and crevices can still cause staining and binding. Rinse the clamp and the metric nut thoroughly after every dive day. From time to time, take the clamp off, soak it, and let the threads dry fully before refitting. If the nut or threads are damaged, fit a replacement stainless steel clamp rather than forcing it.
- Silicone band: Sand can get trapped between the band and the regulator housing. Remove the band periodically, rinse both surfaces, and look for tears or hardening before refitting.
- Chin stabilizer and adapter: Rinse them, check for cracks or stress whitening around the mounting fingers, and replace any part that looks fatigued.
- Reinstallation: After cleaning, refit everything following the installation and assembly guide. Check that the purge and exhaust are unobstructed, then breathe the regulator before your next dive.
Annual regulator service: When your regulator goes in for its scheduled service, remove the RegMount first, or tell the technician it’s there. Refit it yourself afterward and recheck it, since assembly on your own equipment is your responsibility.
Tethers, buckles and thumb screws
Soak tethers so salt doesn’t stiffen the coil and jam the clips. Check that clip gates snap shut. Replace buckles that latch softly and thumb screws with worn threads. These parts are cheap, and losing a camera because of one is not.
Maintenance schedule at a glance
| When | What to do |
|---|---|
| Between dives | Keep the camera shaded and wet, check the thumb screw and buckles, wipe the outside of the port with a wet microfiber cloth. |
| End of each dive day | Soak 10 to 20 minutes in fresh water while working the buttons, latches and screws. Dry, open, inspect the gasket, charge batteries, back up footage. |
| Before every trip | Empty-housing leak test, fresh anti-fog inserts, format cards, check spare gaskets, check clamp and mount hardware. |
| Every few months or each season | Remove and clean the clamp and silicone band, replace tired buckles and thumb screws, check battery health. |
| Annually | Replace housing gaskets per the manufacturer’s schedule. Service your regulator and refit the mount afterward. |
Long-term storage
- Everything clean and completely dry before it goes in the case. Trapped moisture leads to corrosion and mildew.
- Housing door open or unlatched so the gasket isn’t compressed for months at a time. Store spare gaskets flat in a small bag.
- Batteries out of the camera, at partial charge, in a cool place.
- Away from heat and UV: no attics, garages that bake in summer, or sunny windowsills.
- A desiccant pack in the case helps in humid climates. Dry or replace it from time to time.
Troubleshooting common care problems
| Symptom | Likely cause | Fix |
|---|---|---|
| Buttons sticky or won’t press | Salt crystals under the button | Long lukewarm soak while working the button repeatedly. Repeat if needed. |
| Port fogs a few minutes into the dive | Humid air sealed inside, camera heat | Close it in dry, cool air, use anti-fog inserts, keep the camera shaded before entry. |
| Drops of water inside the housing | Debris on the gasket or a damaged seal | Stop using it, dry everything, inspect and clean or replace the gasket, then leak test empty. |
| Clamp nut stiff or gritty | Salt in the threads | Soak, work the nut gently, dry fully. Replace the clamp if the threads are damaged. |
| Haze or fine scratches on the port | Wiping with sand or salt on it | Rinse before wiping, use only microfiber, fit a port cover for transport. |
“Great product! I love my RegMount and use it on every dive. Would definitely recommend to fellow divers.”
— Sara, 5-star review
Divers who use their gear on every dive get the most out of a few minutes of care each day.
Keep spares in your save-a-dive kit
A spare stainless clamp, chin stabilizer and accessory pack take up almost no room in a dive bag and can save a trip. Browse RegMount parts and accessories, all with free U.S. shipping.
Underwater camera gear care: FAQ
How long should I soak my camera housing after a dive?
Ten to twenty minutes in fresh water, ideally lukewarm, while pressing each button and working the latches, buckles and screws. A quick dunk leaves salt in the places that cause the most trouble.
Should I grease my action camera housing gasket?
Only if the housing manufacturer recommends it. Many action camera housings are designed to seal dry, and grease attracts sand and lint. If grease is recommended, use the specified silicone grease in a very thin film, and never use petroleum-based products.
How do I stop my GoPro housing from fogging?
Close the housing in cool, dry air, use anti-fog inserts, keep the camera shaded before the dive, and avoid opening the housing between dives in humid conditions. Keep the inside of the port clean as well.
Do I need to remove RegMount to rinse my regulator?
No. You can rinse with it attached, keeping the first-stage dust cap on and not pressing the purge on an unpressurized regulator. Remove the clamp and silicone band periodically to clean underneath, and before annual regulator service.
How should I store lithium-ion camera batteries between trips?
Take them out of the camera and store them at roughly half charge in a cool, dry place. Retire any battery that swells, overheats or loses capacity quickly.