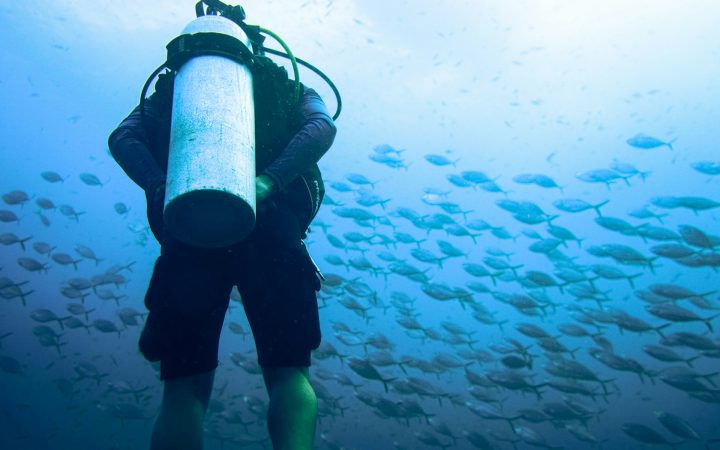
Wrecks and caves give you footage no reef can match: shafts of light through a collapsed hull, a guideline vanishing into blue limestone, a goliath grouper filling a cargo hold. They also give you the least forgiving conditions in diving. Overhead environments remove your direct path to the surface, silt can drop visibility to zero in seconds, and every extra piece of equipment competes for the attention you need for gas, depth, line and buddy. Here is how to film them responsibly, starting with what keeps you alive.
Key takeaways
- Film only within your training. Exterior wreck footage is open-water diving; penetration and cave diving require specific certification.
- NSS-CDS standards call for a minimum of 100 dives in an overhead environment before adding extra equipment such as a camera, because of task loading.
- The best overhead camera setup is the one that needs zero hands and nothing dangling. Anything that can snag on line or wreckage is a liability.
- Low light is the norm. Expect to rely on lights, slower frame rates and conservative ISO limits rather than pushing the camera to its maximum.
- Silt discipline, propulsion technique and buoyancy matter more to your footage than any camera setting.
Know where the line is: open water, near-overhead and true overhead
Before talking about cameras, it helps to be precise about what kind of dive you are actually doing, because the rules change with each category.
| Dive type | What it means | Training typically expected | Camera guidance |
|---|---|---|---|
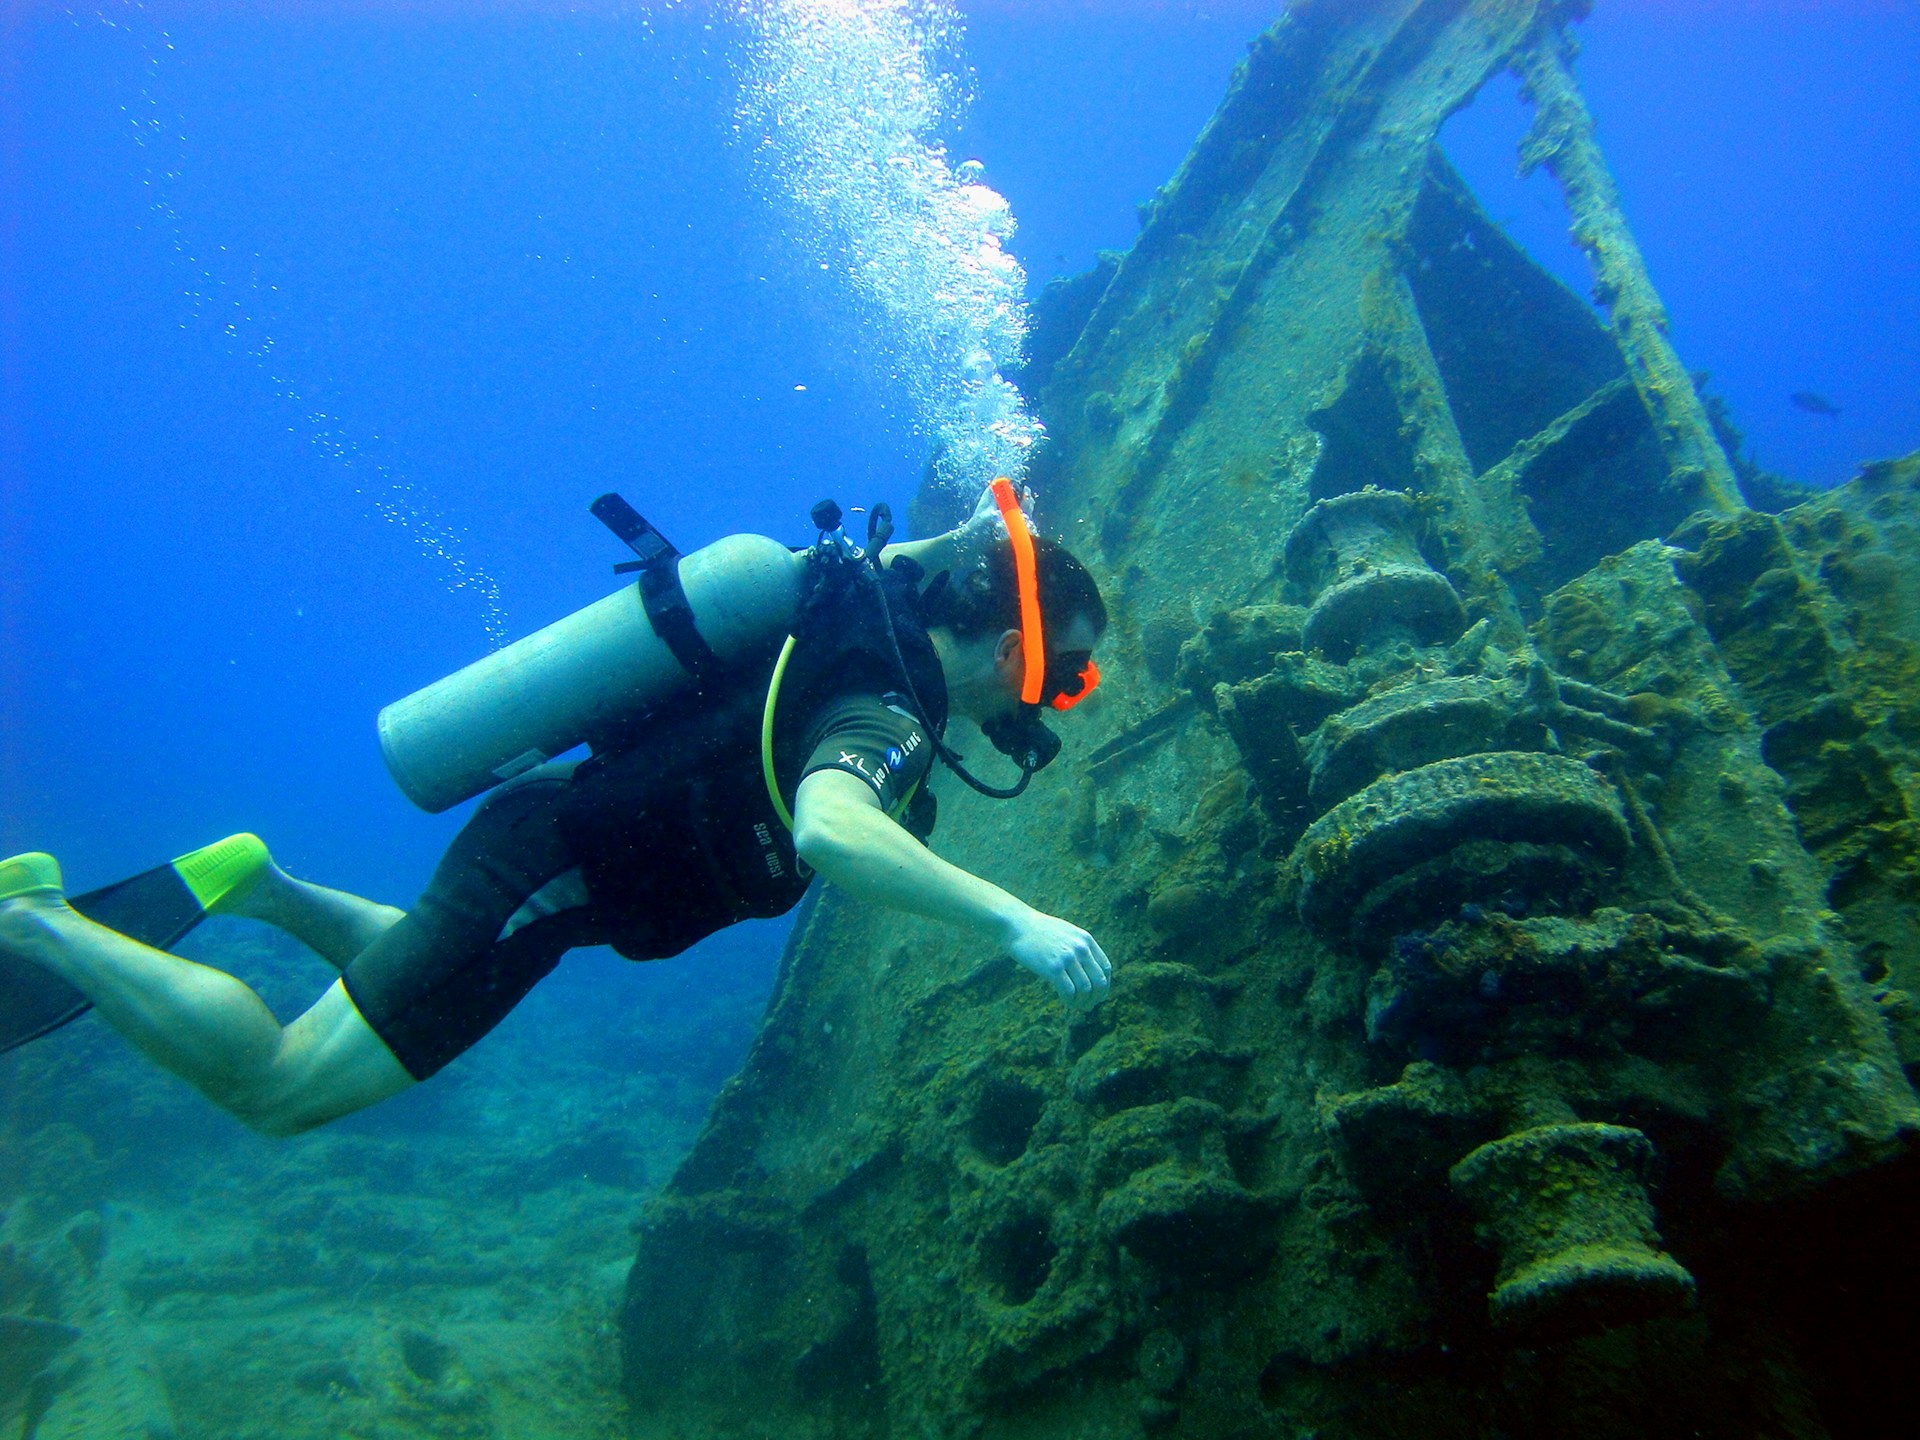
| Wreck exterior | Swimming around and over a wreck with a clear vertical path to the surface | Open water certification; a wreck specialty course is strongly recommended | Reasonable place to start filming wrecks if you are comfortable at the depth |
| Wreck penetration | Entering enclosed spaces where the exit is not directly visible | Advanced/technical wreck penetration training with line work | Only after substantial overhead experience; the camera is the lowest priority on the dive |
| Cavern | Within the daylight zone of a cave, inside defined limits | Cavern certification | Possible for experienced cavern divers; still an overhead environment |
| Cave | Beyond the daylight zone, on a continuous guideline | Full cave certification | Follow NSS-CDS guidance on experience before adding equipment |
If you are not trained for a category, do not enter it, with or without a camera. A camera does not make you a better penetration diver; it makes you a more distracted one. If you are building toward overhead diving, our guide to task loading and safe use of camera accessories is the right place to start.
Safety first: NSS-CDS standards require a minimum of 100 dives in an overhead environment prior to using any additional equipment, because of task loading. That includes cameras and camera mounts, RegMount included. It is the diver’s responsibility to become familiar with any mount before using it, and to dive within their training and experience.
Why cameras are a special risk in overhead environments
Most camera-related problems don’t start with the camera failing. They start with the diver paying attention to the camera instead of something else. In a wreck or cave, that can mean losing the line, missing a turn pressure or kicking up a silt-out that turns a short exit into a blind, touch-contact exit.
- Attention capture. Framing a shot or chasing a fish pulls focus away from gas, depth, time and line.
- Entanglement. Poles, trays, wrist straps and loose lanyards create snag points on guidelines, cables and debris.
- Hands. Your hands belong on the line, your light, your inflator or your buddy. A handheld camera takes one out of service.
- Trim. Large rigs can pull you head-down or into the floor, which is exactly where the silt is.
Hence every recommendation that follows: keep the camera small, hands-free, streamlined and low on your priority list.

Choosing a camera setup for wrecks and caves
For overhead diving, small action cameras beat full housings: they are compact, have forgiving wide lenses, and can be mounted so they need no hands at all. Look for a setup with these traits:
- Zero hands required once you descend.
- Nothing dangling below your body line.
- Visible status, so you can confirm it is recording without fumbling.
- No interference with your purge button, inflator, valves or light.
RegMount was designed around exactly those constraints. It clamps your action camera to the regulator second stage, in front of the exhaust, so the lens points wherever your head points and you can see the camera at all times. There is no pole to catch on a line and no extra hand job. The purge button stays fully accessible. For a broader look at the trade-offs, see our comparison of regulator mounts versus head, wrist, chest, pole and tray mounts.
Important: A regulator-mounted camera moves with your primary second stage. If your team uses a long-hose primary donation protocol, practice an air-share drill in open water with the camera installed so you know exactly how it behaves during donation. If the setup creates any hesitation in a gas-sharing scenario, leave the camera at home for overhead dives until you resolve it.
Mounting checklist before an overhead dive
- Confirm the clamp is snug and the camera does not rotate under firm hand pressure.
- Purge the regulator on the surface and confirm unrestricted access to the purge button.
- Keep any tether tight against your gear, never in a loop. A short coiled camera safety tether is far safer than a loose lanyard.
- Start recording at the surface so you never operate buttons inside the overhead.
Camera settings for low-light wrecks and caves
Wrecks and caves are dark, high-contrast environments. Action cameras handle them reasonably well if you avoid settings that produce grainy, smeared footage.
| Setting | Wreck exterior (daylight) | Wreck interior / cave with lights |
|---|---|---|
| Resolution / frame rate | 4K at 30 fps, or 60 fps if light allows | 4K or 2.7K at 24–30 fps for more light per frame |
| Field of view | Wide or linear | Wide; linear modes can crop and lose light |
| ISO max | 800–1600 | 1600–3200; higher adds visible noise |
| Shutter | Auto | Auto; avoid forcing fast shutter speeds |
| White balance | Auto, or a filter in shallow, blue water | Around 5000–5500K if your lights are daylight-balanced; no red filter |
| Exposure compensation | 0 to −0.5 to protect bright water | −0.5 to −1.0 to avoid blowing out lit areas |
Exact menu names vary by camera model and firmware, so treat these as starting points. Our article on the best GoPro settings for scuba diving goes deeper on each setting, and the underwater video lighting guide explains how to choose lights that actually help a small camera in the dark.
Pro tip: Remove red or magenta filters before entering a cave or wreck interior. Filters are designed for ambient blue light; under artificial white light they cast everything red and cost you a stop of light you cannot afford.
Lighting inside the overhead
In open water a camera light is a nice-to-have. Inside a cave or wreck it is the only source of color and detail beyond the daylight zone. That said, your primary dive light is life-support equipment for navigation and communication, not a video light, and should never be repurposed or compromised for filming.
- Wide, even beams for video. Narrow spot beams create a bright hot spot in the middle of the frame. Wide video beams spread light evenly across an action camera’s wide lens.
- Use your buddy’s light creatively. Footage of a buddy’s primary sweeping across a bulkhead or cave wall is often more dramatic than flat frontal lighting, and costs no extra gear.
- Respect light signals. In cave and penetration diving, light movements are communication. A camera light that is waved around carelessly can be mistaken for a signal or hide one. Agree on procedures with your team.
Silt, propulsion and buoyancy: the real secret of good overhead footage
The difference between beautiful wreck footage and brown murk usually comes down to the diver, not the camera. Fine silt settles on every horizontal surface in wrecks and on most cave floors, and it can take a long time to settle once disturbed.
- Horizontal trim. Knees bent, fins up, body flat. A head-up, fins-down posture drives water into the floor.
- Frog kick and modified kicks. Avoid full flutter kicks near silt.
- Exhaust bubbles. In wrecks, exhaled bubbles knock loose rust and sediment from ceilings (“percolation”). Keep moving rather than hovering in one spot for a long take.
- Don’t touch for the shot. Grabbing structure risks a silt-out, damage and cuts from sharp metal.
With a regulator-mounted camera you are never tempted to reach out to steady a handheld camera or adjust a pole. Your hands stay on the line or tucked in.
Shooting technique: what makes wreck and cave footage work
Overhead footage looks best when it is slow, steady and gives the viewer a sense of scale and direction. Point-of-view footage naturally captures the diver’s experience, so lean into that.
Plan the shots on the surface
Decide before the dive which two or three moments you want: the descent onto the bow, the swim along the rail, the light zone of the cavern. Then forget the camera and dive the plan. You are not storyboarding a film; you are reducing in-water decisions.
Establish the scene
On wreck exteriors, a slow descent toward the wreck or a pass along the hull gives viewers a sense of scale. Hold your head steady for several seconds; quick head turns become unwatchable footage with a POV camera.
Include your team
A buddy in frame provides scale and story. Agree on positions in the briefing so nobody is maneuvering for the shot inside an overhead.
Move smoothly, turn slowly
Use steady propulsion and turn your whole body rather than snapping your head. Slow, deliberate movements are both safer and more watchable.
Let the exit be the ending
Some of the best overhead footage is the return to daylight: blue light growing at the end of a passage. Film that, and keep following the line while you do.
Gas, time and the “camera margin”
Filming tends to lengthen dives. Use your agency’s gas rules (many overhead divers use the rule of thirds or more conservative reserves) and never relax them for a camera. When anyone on the team hits turn pressure, the dive is over, and anyone can call it, including the diver who is not filming. Slow filming at depth also eats into no-decompression time faster than you expect.
Respecting wrecks, caves and the law
Many wrecks are historic sites, war graves or protected areas, and many cave systems sit on private land or in parks with specific access rules. Some protected areas, including parts of the U.S. National Marine Sanctuary system managed by NOAA, restrict disturbing or removing artifacts. Never move artifacts for a shot, don’t touch cave formations, follow landowner and operator rules, and be respectful when filming sites where people lost their lives.
Common mistakes to avoid
- Entering an overhead “just for the shot” without penetration or cave training.
- Bringing a brand-new camera setup on a demanding dive instead of testing it in open water first.
- Starting or stopping recording inside an overhead, which pulls your hands off the line.
- Following a fish or a framing idea away from the guideline.
Hands-free footage, nothing to snag
RegMount holds your action camera on your regulator second stage, in front of the exhaust, so you film exactly what you see with no pole, no wrist strap and no hands. Start with open-water and wreck-exterior dives, and build up as your training allows.
Frequently asked questions
Can I bring a camera on my first cave or cavern dives?
Generally, no. NSS-CDS standards require a minimum of 100 dives in an overhead environment before using any additional equipment, because of task loading. Your first overhead dives should be about line work, gas management and team procedures. Follow your instructor’s and training agency’s guidance.
Is filming the outside of a wreck considered overhead diving?
Swimming around a wreck with a clear, direct path to the surface is open-water diving, although it can still involve depth, current and entanglement hazards. Once you enter a space where you can’t ascend directly, you are in an overhead environment and need appropriate training.
Will a regulator-mounted camera interfere with gas sharing?
RegMount leaves the purge button fully accessible, but any device attached to a second stage changes how that second stage handles. Practice gas-sharing drills in open water with the camera installed, follow your team’s donation protocol, and leave the camera off overhead dives if it causes any hesitation.
Do I need a video light inside a wreck?
Beyond the daylight zone, yes, if you want usable color and detail. A wide-beam video light works best with an action camera. Your primary and backup dive lights should remain dedicated to navigation and communication, not filming.
What frame rate works best in low light?
Lower frame rates such as 24 or 30 fps let each frame collect more light, which reduces noise. Save 60 fps and above for bright, shallow wreck exteriors where you have light to spare.