Mounting a GoPro on your scuba regulator sounds unusual until you try it. The camera rides on the second stage, right in front of your face, and points wherever you look. Your hands stay free for buoyancy, your buddy and your gauges, and the lens sits ahead of the exhaust so the bubble curtain that ruins so much helmet-cam footage never crosses the frame. This guide walks through the whole process the way we teach it to new RegMount owners: confirm fit, assemble the clamp correctly, aim the camera, and prove the setup in the pool before you take it to open water.
Key takeaways
- Measure first: RegMount fits most second stages with a body diameter of 2 3/8″–3 1/8″ (60–80 mm).
- The silicone band goes on before the stainless clamp to protect your regulator’s finish and stop slippage.
- Tighten the clamp snug, not crushing. The nut is metric, so pack the right tool.
- Aim the lens level with your normal swimming trim, not with how you sit on the boat.
- Always test breathing, purge access and comfort in a pool or confined water before your first open-water dive.
Why mount the camera on the regulator at all?
Every camera position is a compromise. A head strap puts the lens above your eyes and right in the path of rising exhaust bubbles. A wrist mount points where your hand points, which is rarely where the action is. A chest harness aims at the reef below you whenever you are horizontal. Handheld trays produce beautiful footage but occupy both hands. We compare all of them in detail in our regulator mount vs head, wrist and chest mount guide.
The regulator is the one piece of gear that is always in front of your face and always moves with your head. RegMount started life as a hands-free camera mount for spearfishing, where the diver needed to keep both hands on the gun and always know exactly where the camera was pointing. After three years of testing and ten prototypes, the design settled on clamping directly to the second stage. The result is a true point-of-view angle, a camera you can see at the edge of your vision the entire dive, and no exhaust bubbles in the shot.
Before you start: what you need
Gather everything on a clean table, not on a rocking dive deck. Small parts and boat decks are a bad combination.
- Your regulator, ideally the one you will dive with, attached to a first stage so you can check hose routing.
- The RegMount kit: the RegMount adapter, the custom black stainless steel clamp, the protective silicone band and the comfort chin stabilizer.
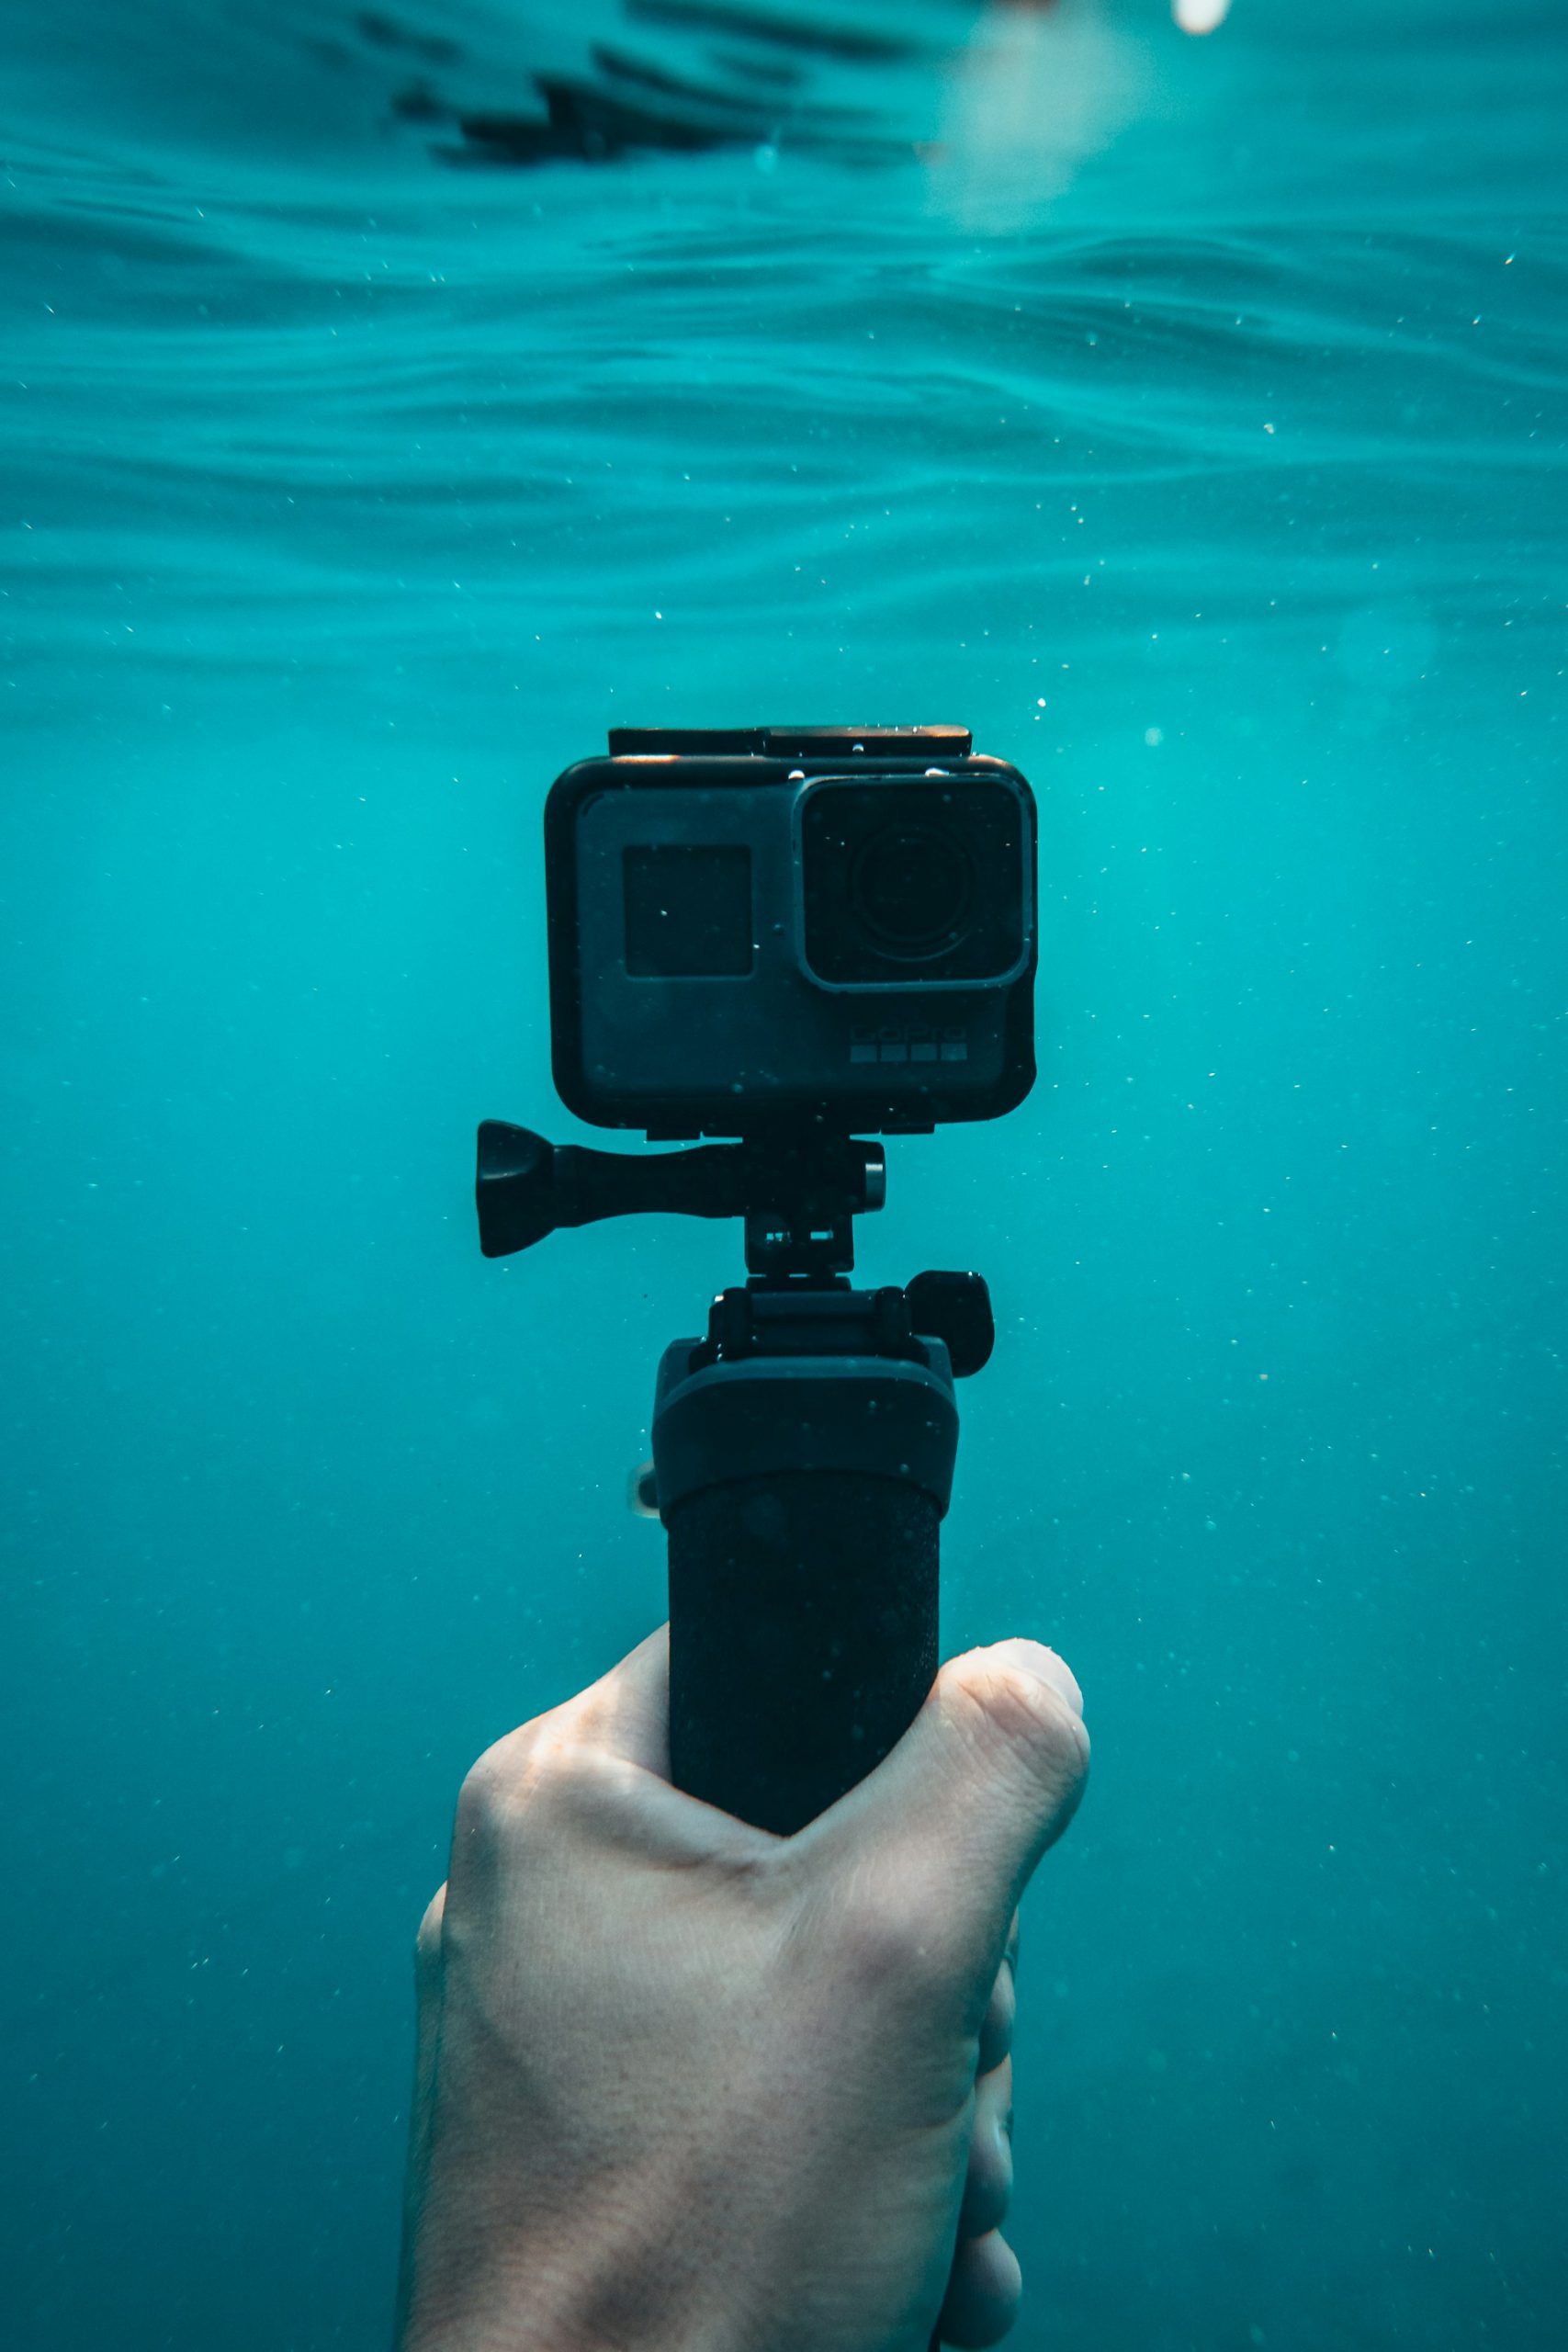
- Your action camera in its dive housing, or a model rated for direct immersion at your planned depth, with a standard GoPro-style two- or three-prong mount and thumb screw.
- A metric wrench or nut driver sized to the clamp nut. The clamp uses a metric nut, not an imperial one, which is a tip customers have passed along after reaching for the wrong socket.
- A tape measure or calipers for the fit check.
- A camera tether (optional but recommended) as a backup retention point.
Will it fit? Measure the diameter of your second-stage body at the widest round section, where the clamp will sit. If it falls between 60 and 80 mm (2 3/8″ to 3 1/8″), you are in range. Our fit guide and interactive fit checker lists common regulator families if you would rather not measure.
Step-by-step: mounting your GoPro on the regulator
The full illustrated assembly sequence lives on our How It Works page. The steps below add the practical reasoning behind each one, which is what makes the difference between a mount that stays put for hundreds of dives and one that creeps out of alignment.
Check hose routing and orientation
Put the regulator in your mouth on the surface the way you normally breathe it, with the hose coming from the side it is designed for. Note where the exhaust tee sits and where the purge button is. The camera needs to sit in front of the exhaust and leave the purge button completely unobstructed. Getting the orientation right on dry land saves you from re-clamping on the boat.
Fit the protective silicone band
Stretch the silicone band around the second-stage body where the clamp will go. It cushions the regulator housing, stops the stainless clamp from scuffing the finish and adds grip so the mount does not rotate when you bump it. Make sure it lies flat with no twists or folds; a folded band creates a hard spot and lets the clamp shift.
Position the RegMount adapter
Seat the adapter against the front of the second stage so the camera mount faces forward, away from your face. Keep it centered over the band. Look at it from above: the mounting tab should be aligned with the mouthpiece axis, because any sideways offset here becomes a crooked horizon in every clip.
Install and tighten the stainless clamp
Wrap the clamp around the band and adapter, then thread the metric nut. Tighten progressively until the assembly does not rotate when you twist it firmly by hand. Stop there. Second-stage housings are engineered plastics; cranking the clamp down does not make the mount more secure, it only risks distorting the housing or the diaphragm cover.
Add the comfort chin stabilizer
The chin stabilizer improves comfort and steadiness when the regulator carries a camera. Fit it per the instructions in the kit, then put the regulator in your mouth and check that the mouthpiece sits naturally without you having to bite harder than usual. Jaw fatigue is a sign that something needs adjusting.
Attach the camera
Slide the camera’s mounting fingers into the adapter and tighten the thumb screw firmly by hand. Use the camera’s housing or built-in folding fingers, whichever you dive with. Check that the record button and screen remain visible from your normal head position, because that visibility is the whole point: you should always be able to confirm the camera is on and recording.
Set the angle
Lie face-down on a bench or the floor in the same horizontal posture you hold in the water, regulator in your mouth, and look straight ahead. Adjust the camera tilt until the lens points where your eyes point. Most divers find they need a little more upward tilt than they expect, because at the table they hold their heads upright, not in trim.
Attach a tether
Clip a coiled tether from the camera housing to a D-ring or the regulator hose. It adds negligible drag and turns a dropped camera from a lost camera into a minor inconvenience. A coiled tether lanyard with clips is made for exactly this.
Do not overtighten. If the clamp leaves a visible dent in the silicone band or you see the second-stage housing deform, back the nut off. Snug and immovable by hand is the goal. Recheck tightness after the first dive, since silicone can settle slightly as it warms and compresses.
Testing in the pool before open water
Every new piece of equipment should get a confined-water trial, and a camera on your regulator is no exception. Plan a short pool session or a shallow, calm shore dive with your buddy and run through this checklist:
| Check | What good looks like | If it fails |
|---|---|---|
| Breathing | Inhalation and exhalation feel identical to the regulator without the camera | Confirm nothing presses on the diaphragm cover or exhaust tee; reposition the adapter |
| Purge access | You can press the purge button fully with one finger, gloves on | Rotate the assembly slightly so the button is clear |
| Jaw comfort | No clenching after 20 minutes | Adjust the chin stabilizer and check camera angle so leverage is minimal |
| Camera visibility | You can see the recording indicator or screen in your lower field of view | Rotate the camera so the indicator faces you |
| Regulator recovery | Arm-sweep and hose-reach recovery work normally | Practice until it is automatic; the camera should not change your technique |
| Air sharing | Your buddy knows which second stage carries the camera | Brief air-sharing procedures before every dive |
Review the footage that same day. A pool is the perfect place to spot a tilted horizon or a lens aimed too low, and it costs you nothing to fix there.
Safety first: It is your responsibility to familiarize yourself with the RegMount before use, and assembly on your personal equipment is your responsibility. Dive within your training and certification. If you dive in overhead environments, NSS-CDS standards call for a minimum of 100 dives in an overhead environment before adding any extra equipment, because of task loading. Read our guide to task loading and safe use of camera accessories before your first filmed dive.
Primary or octopus: which second stage gets the camera?
Most divers mount the camera on their primary second stage, because that is the regulator in their mouth and the one that tracks their head. Think through your air-sharing plan, though. In a typical recreational configuration you donate your octopus to an out-of-air diver, so the primary and camera stay with you. In a long-hose configuration where you donate the regulator in your mouth, the camera goes with it. Neither is wrong, but your buddy should know which regulator carries the camera, and you should practice the donation with the camera attached.
Plenty of owners also swap the mount to the octopus mid-dive to shoot selfies of themselves and their buddy, or to push the camera under a rock ledge to see what is hiding there without sticking a hand in. Those tricks, plus using the adapter as a light mount, are covered in our guide to creative ways to use RegMount.
Common mistakes and how to avoid them
Aiming the camera at the table, not in trim
The most common complaint after a first dive is “half my footage is sand.” That almost always means the camera was aimed while sitting upright. Set the angle in a horizontal posture and remember that a slight upward tilt captures more of the scene and more of the water column above the reef.
Forgetting to start recording
The advantage of a regulator mount is that the camera is always in sight. Build a habit: start recording during your descent check, glance at the indicator at every gauge check, and stop recording on the safety stop or once you are back on the boat.
Clamping over hose or a swivel
The clamp belongs on the round body of the second stage, never on the hose, a swivel or the venturi lever. If the body diameter is outside the 60–80 mm range, the mount is not designed for that regulator; do not improvise.
Skipping the rinse
Salt crystals build up in thumb screws and under the silicone band. Rinse the whole assembly with fresh water after every dive day and remove the band occasionally to rinse beneath it.
Quick setup tips for better first-dive footage
- Charge and format before the dive. Start each dive day with a full battery and a freshly formatted card.
- Use an anti-fog insert in the housing, especially when moving from a warm boat into cool water.
- Choose a wide or linear field of view and 4K at 30 or 60 frames per second. Our best GoPro settings for scuba diving breaks this down by conditions.
- Move your head slowly. Because the camera follows your head, a quick glance becomes a whip pan. Slow, deliberate looks produce footage people actually want to watch.
- Keep your buoyancy dialed in. Good trim is good camera work. Hovering still is what makes a shot stable.
Divers often tell us the regulator mount simply disappears once it is set up. As Sara put it in her five-star review: “Great product! I love my RegMount and use it on every dive. Would definitely recommend to fellow divers.”
Ready to film hands-free?
The RegMount kit includes the adapter, black stainless steel clamp, protective silicone band and comfort chin stabilizer for $34.99, with free U.S. shipping. Attach your camera and go.
Frequently asked questions
Does mounting a GoPro on my regulator affect breathing?
Correctly installed, it should not. The clamp sits on the second-stage body, the camera sits in front of the exhaust, and the purge button stays completely unobstructed. Test breathing in a pool first; if anything feels different, check that nothing presses on the diaphragm cover or exhaust tee.
Which cameras work with RegMount?
All GoPro versions and other action cameras that use the standard GoPro-style mounting fingers. If your camera uses a different mount, a GoPro-style adapter will normally bridge the gap. GoPro is a trademark of GoPro, Inc., and RegMount is not affiliated with GoPro.
How do I know if my regulator is compatible?
Measure the second-stage body diameter where the clamp will sit. RegMount fits most scuba regulators between 2 3/8″ and 3 1/8″ (60–80 mm). Our fit guide and fit checker cover common models.
What tool do I need for the clamp?
A metric wrench or nut driver that matches the clamp nut. It is a metric nut, so an imperial (SAE) tool will not fit properly. Keep one in your save-a-dive kit.
Can I use RegMount in caves or wrecks?
Only if you are trained and experienced for that environment. NSS-CDS standards call for a minimum of 100 dives in an overhead environment before adding any extra equipment, because of task loading. Never let filming push you beyond your training.